各类数据库环境安装
本篇集中介绍市面上常见数据库安装、包括Windows、Linux、Docker等多环境、安装的数据库包括但不仅限于MySQL、Oracle、PostgreSQL、MS Server、DB2等主流数据库!
篇幅较长,部分附有视频,请自行选择观看的部分
数据库安装
本篇集中介绍市面上常见数据库安装、包括Windows、Linux、Docker等多环境、安装的数据库包括但不仅限于MySQL、Oracle、PostgreSQL、MS Server、DB2等主流数据库!
Windows环境
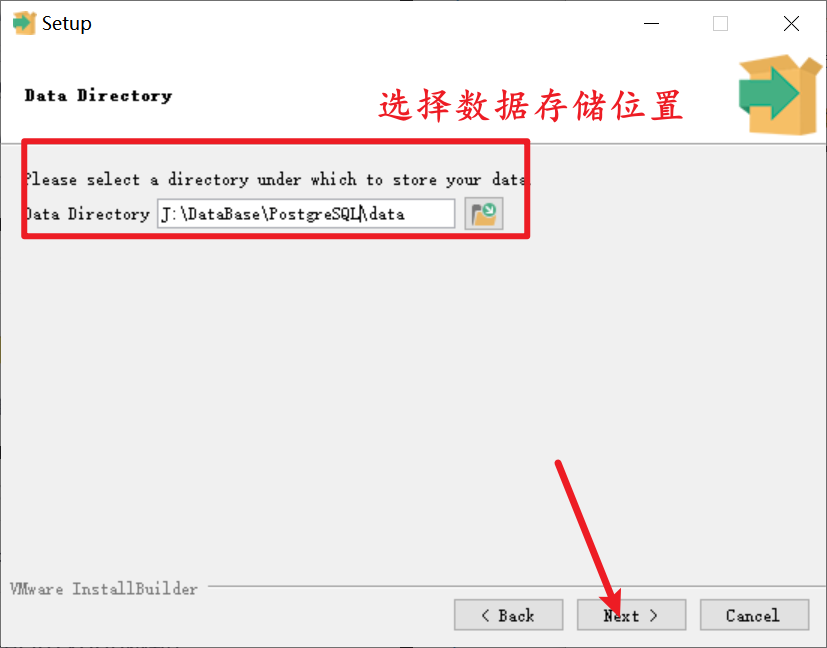
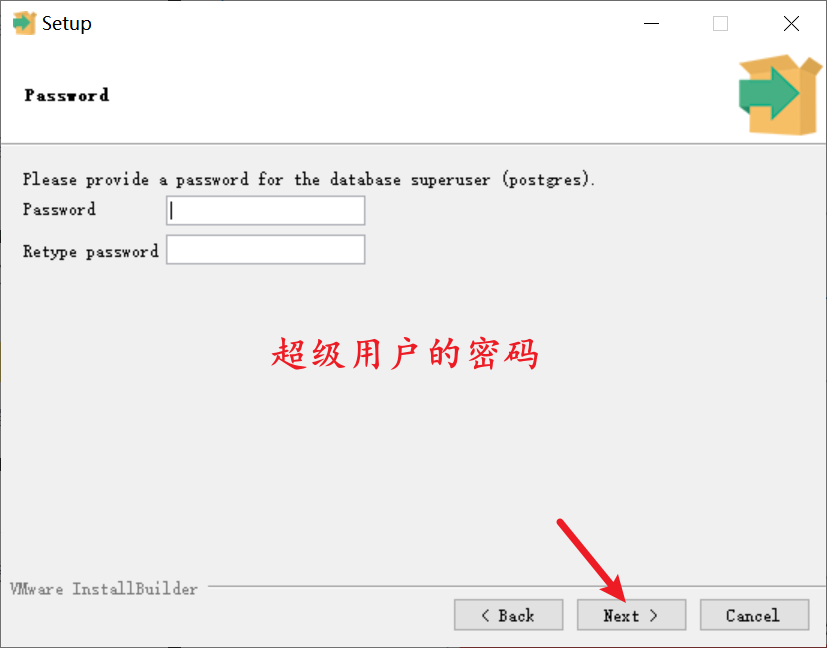
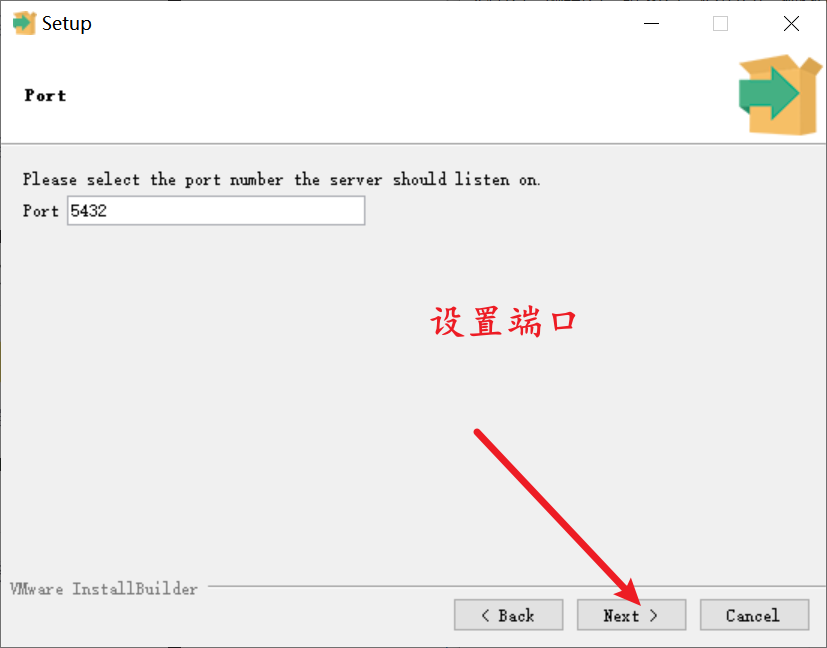
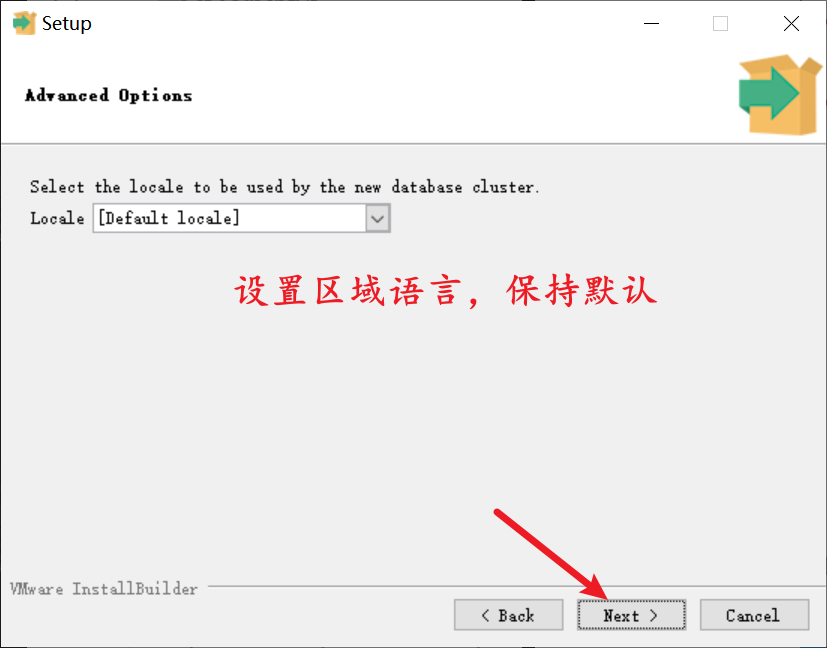
安装和连接PostgreSQL
如果你的Navicat是15版本,则建议安装PostgreSQL 14及以下版本
官网下载:Community DL Page (enterprisedb.com)
选择版本: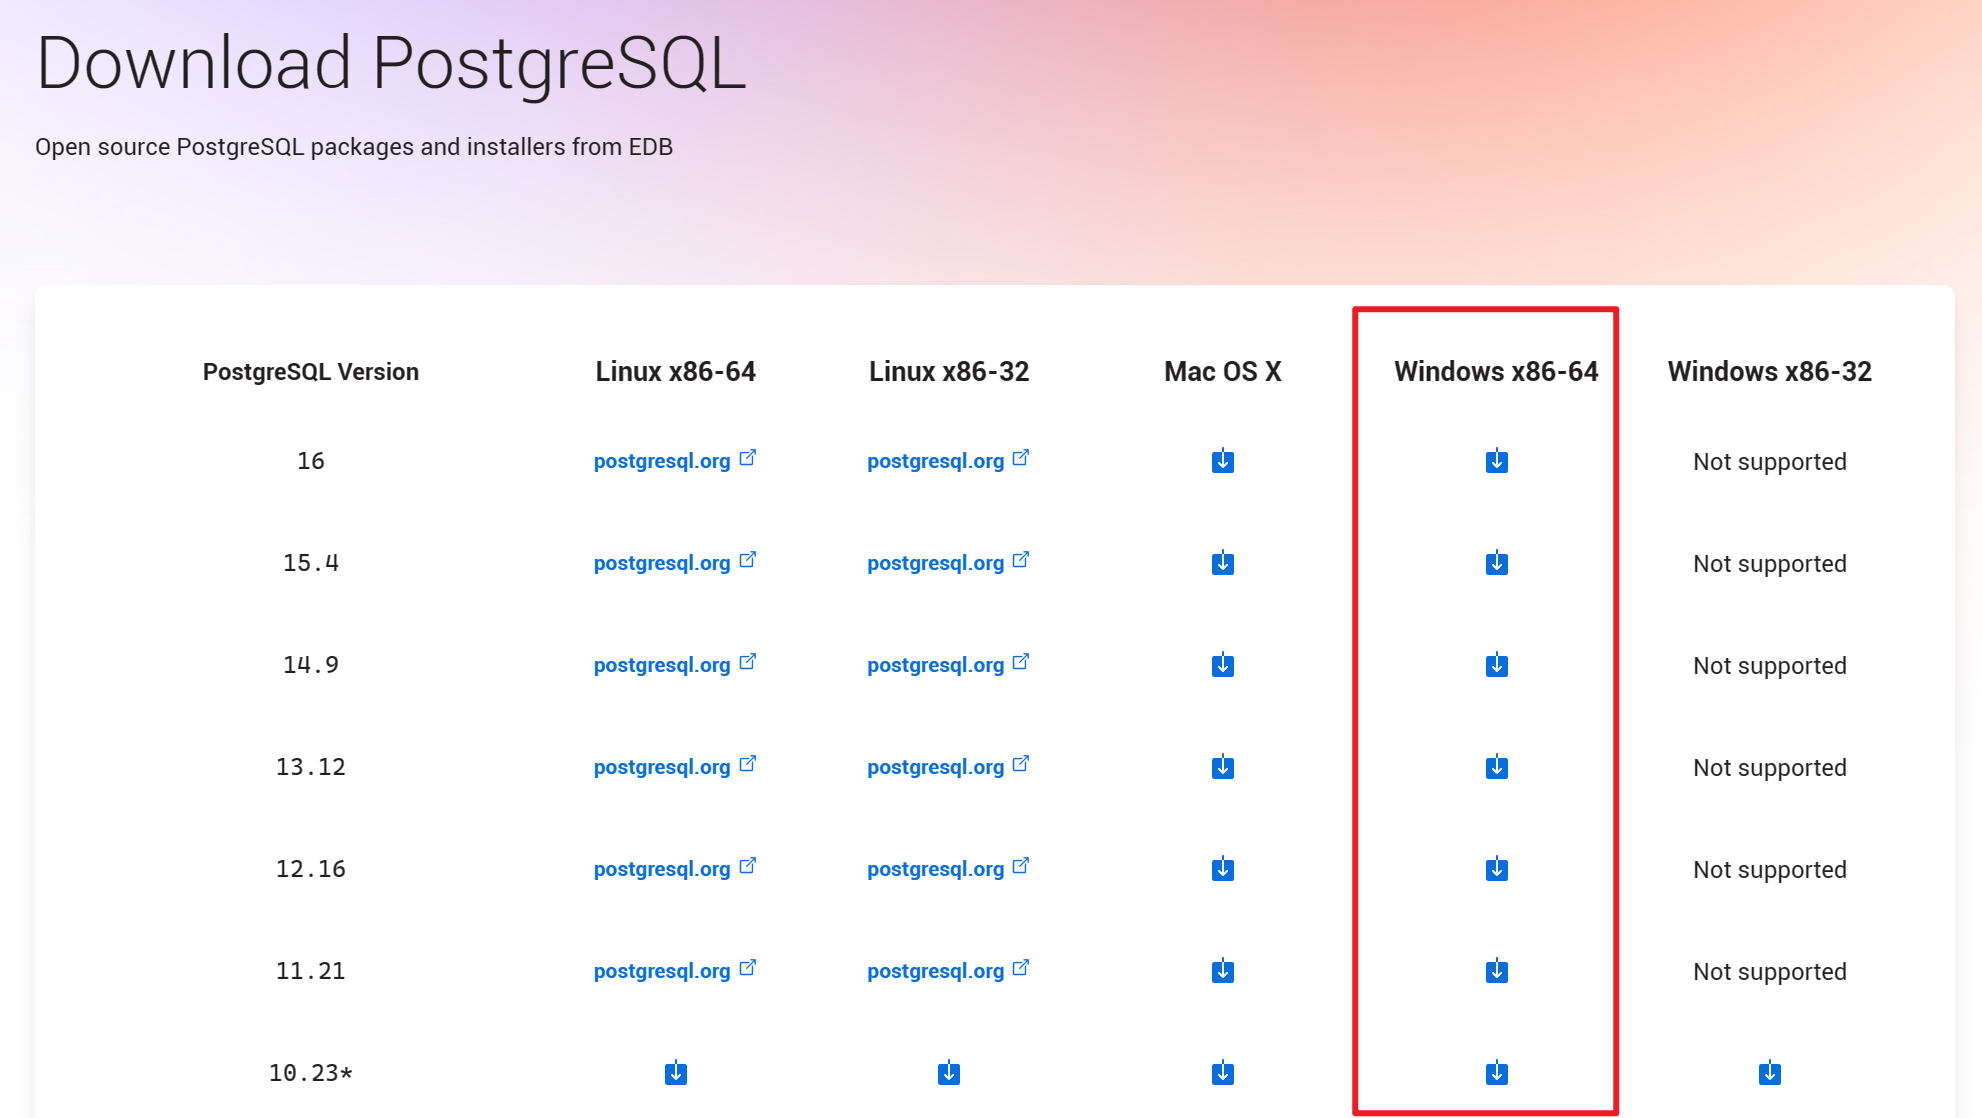

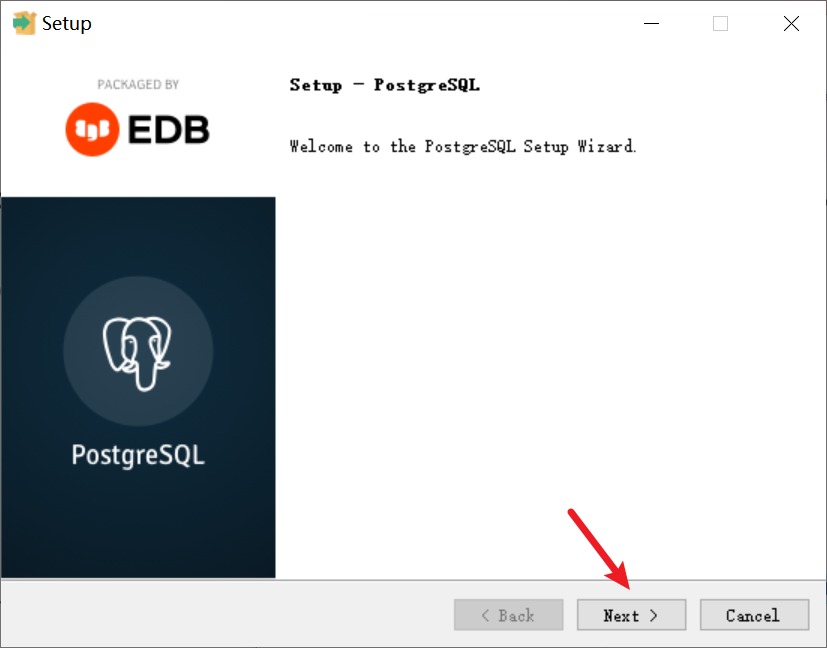
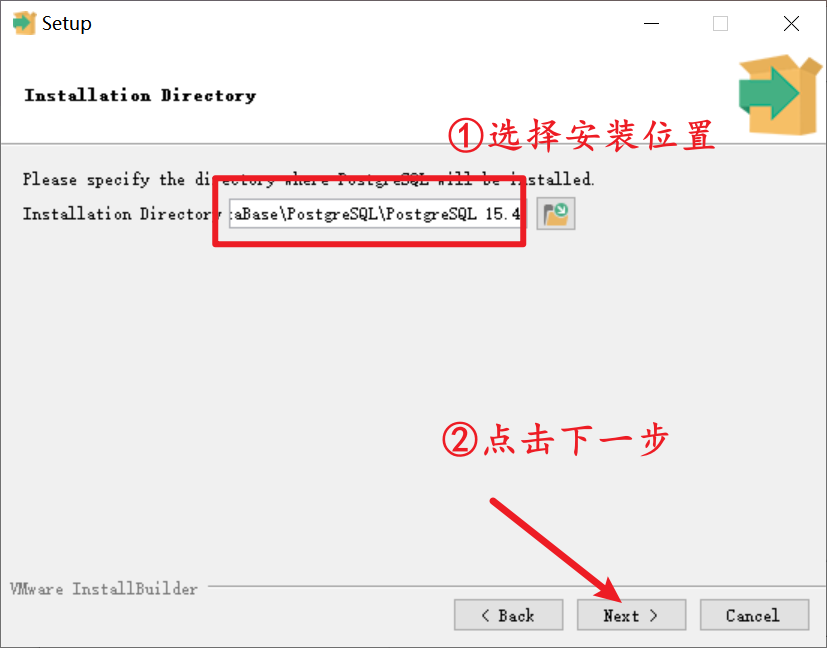
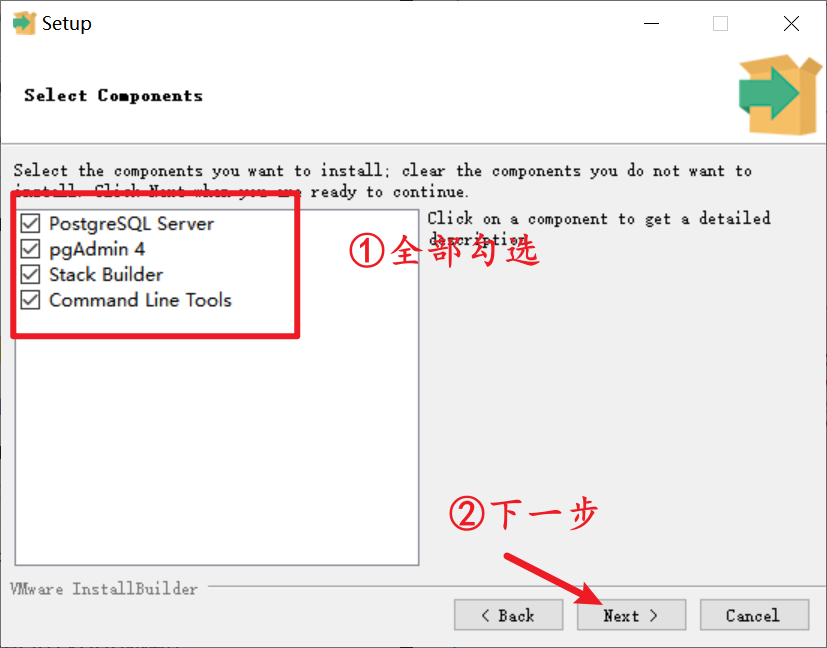
双击打开:

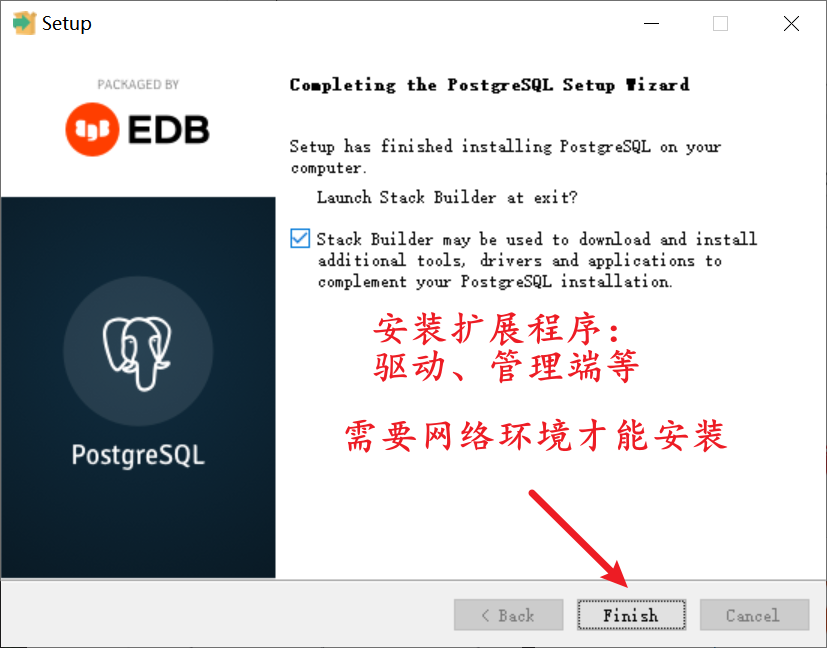
如果报告下面的错误:
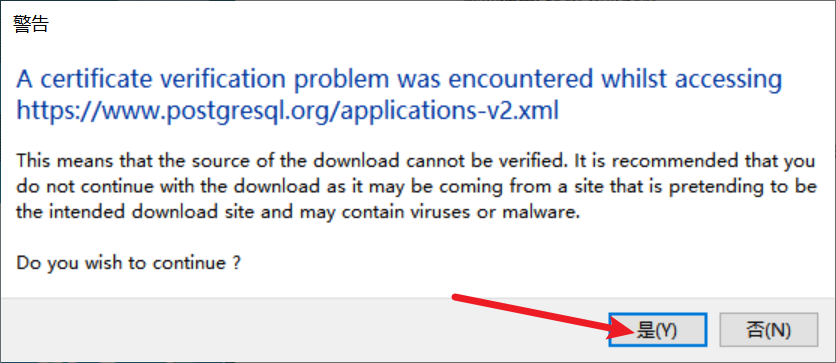
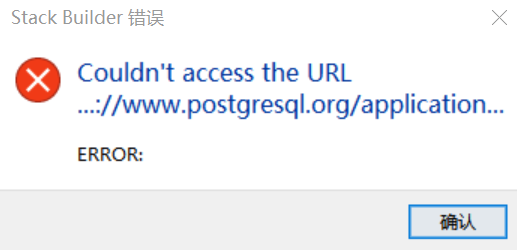
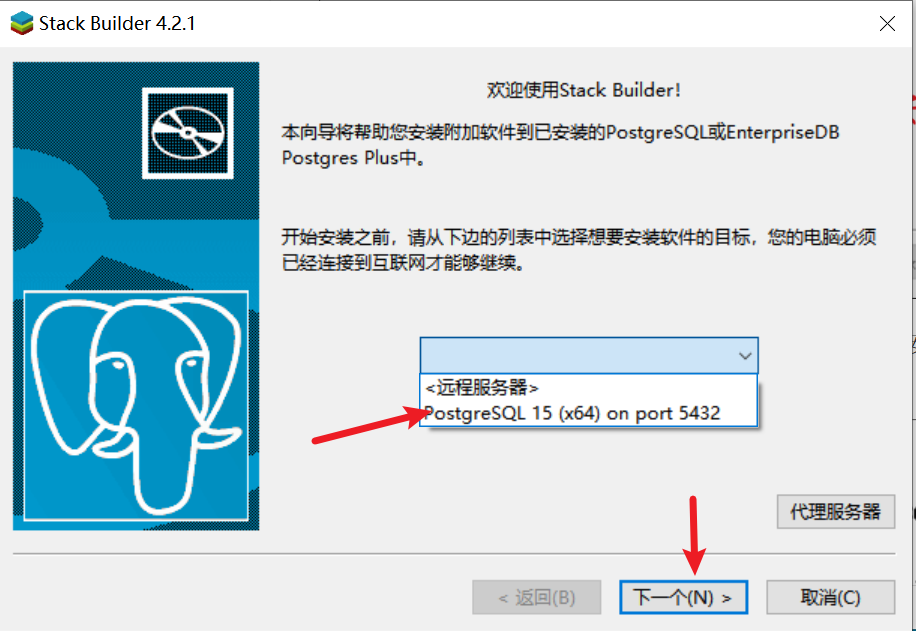
则需要挂代理下载,或者干脆不下载扩展工具!
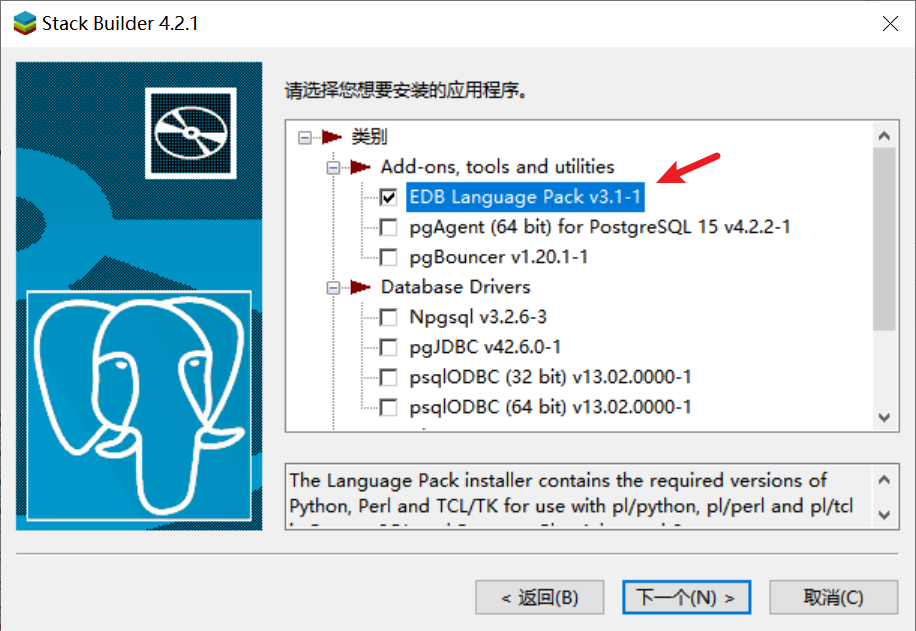
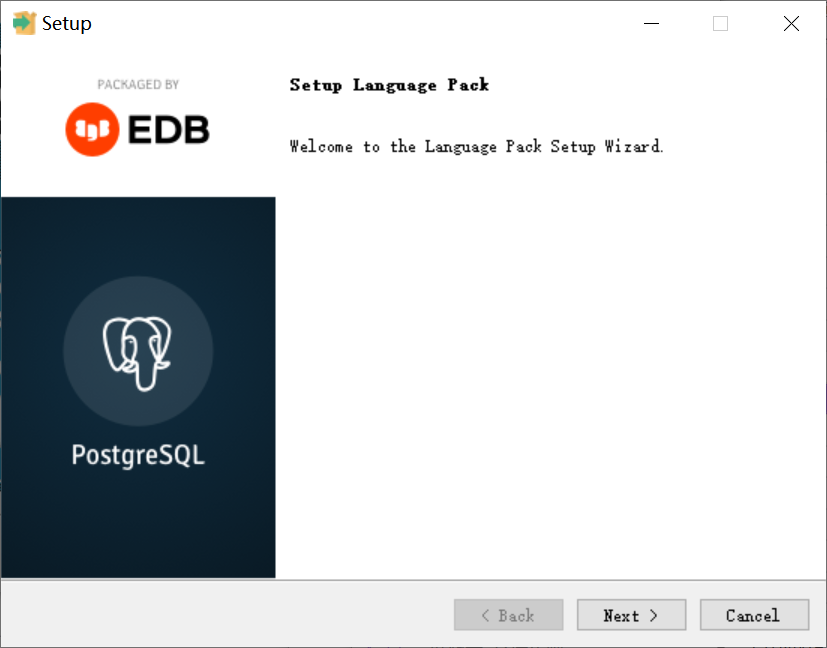
下载语言包:
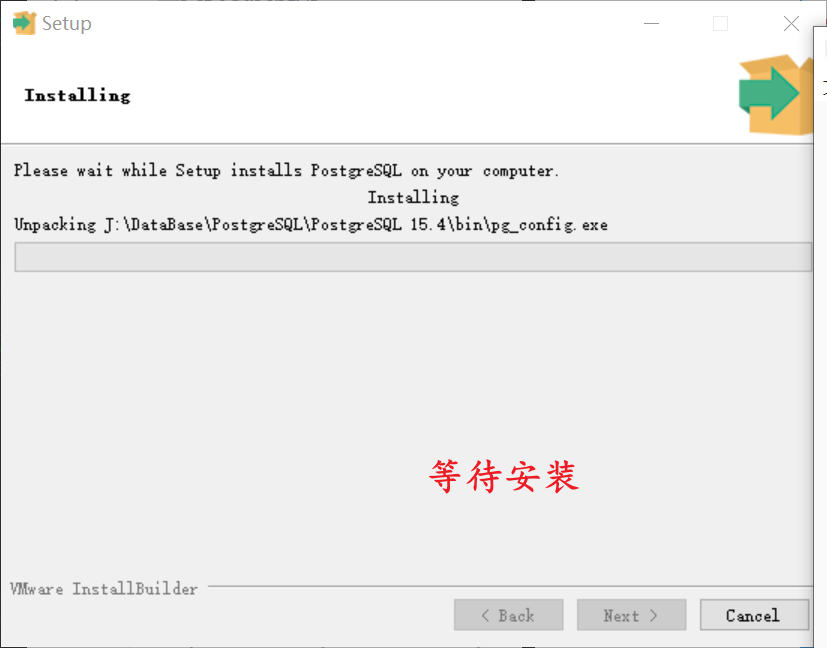
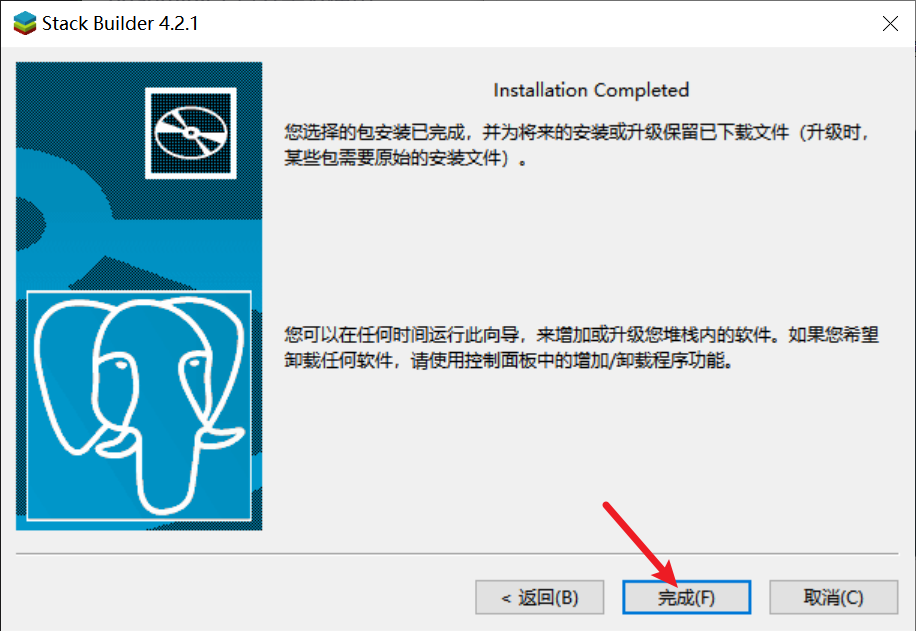
等待下载完成之后:
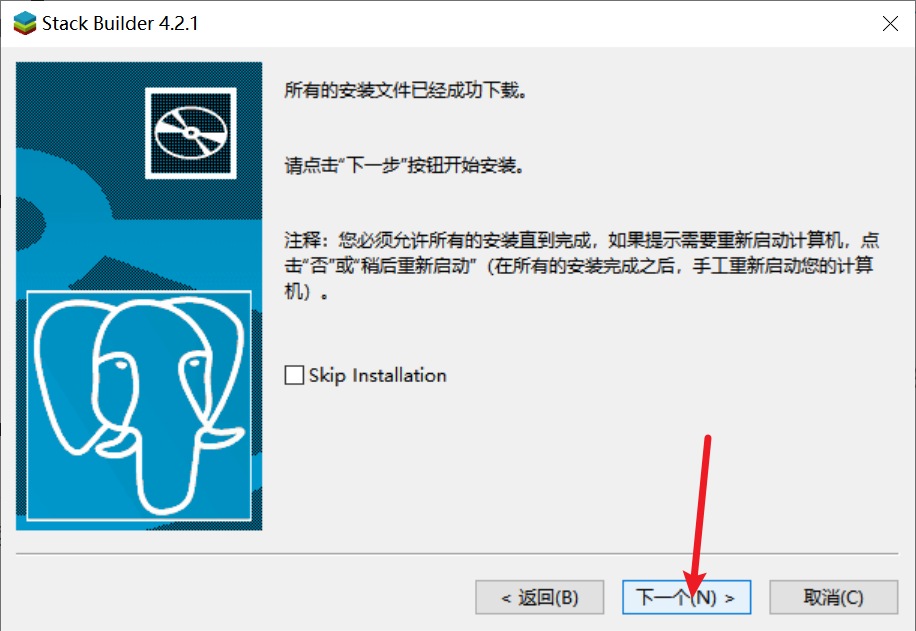
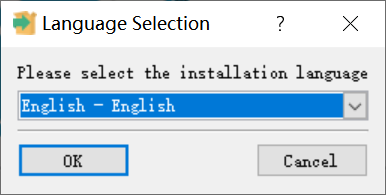
选择安装语言:
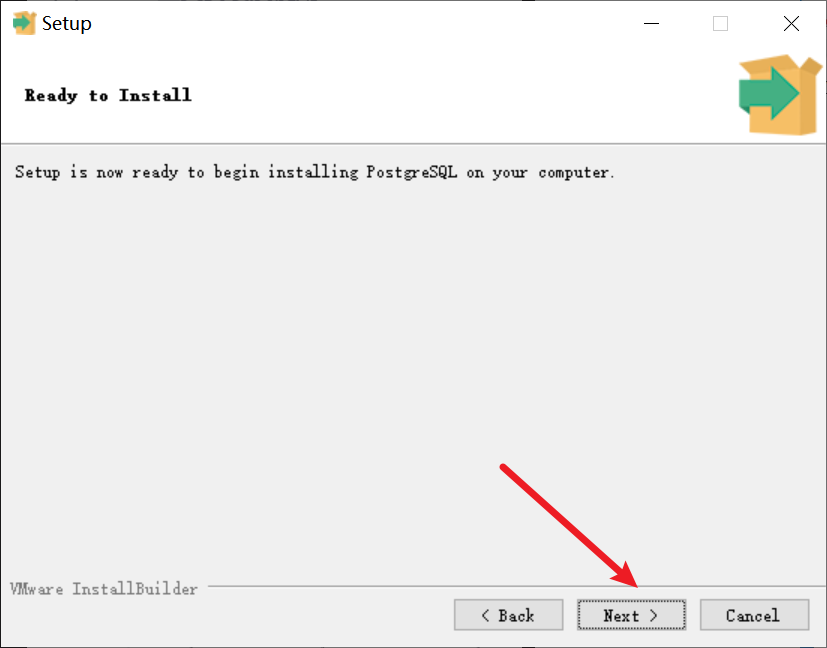
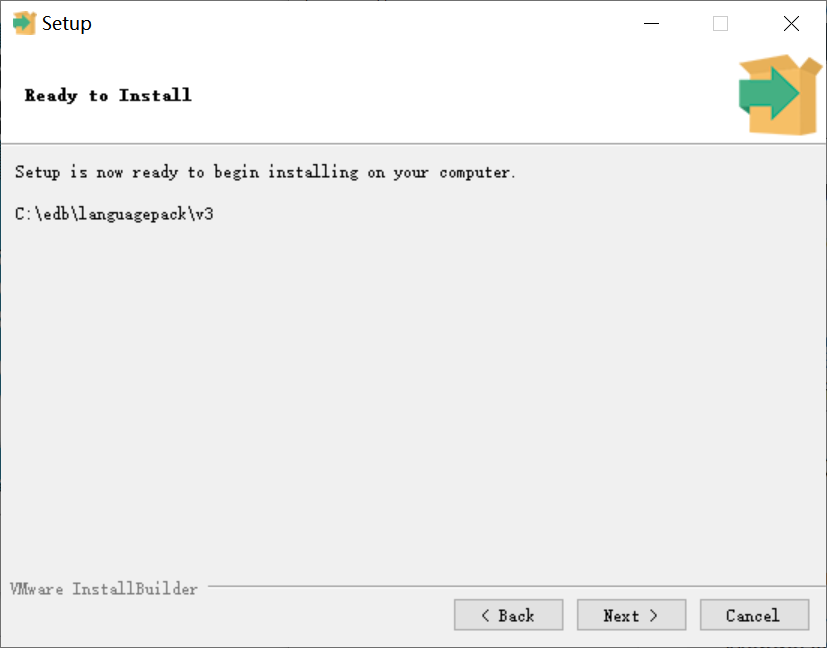
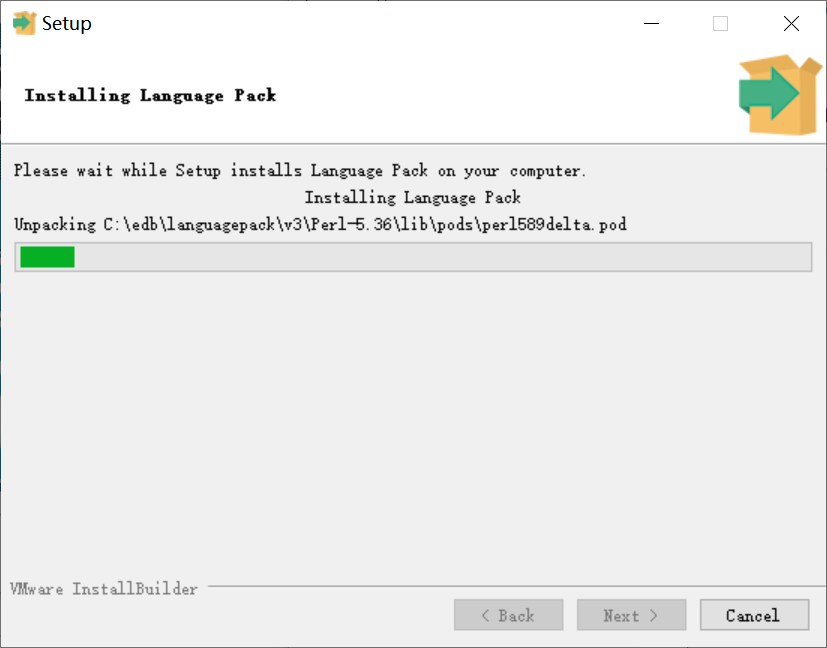
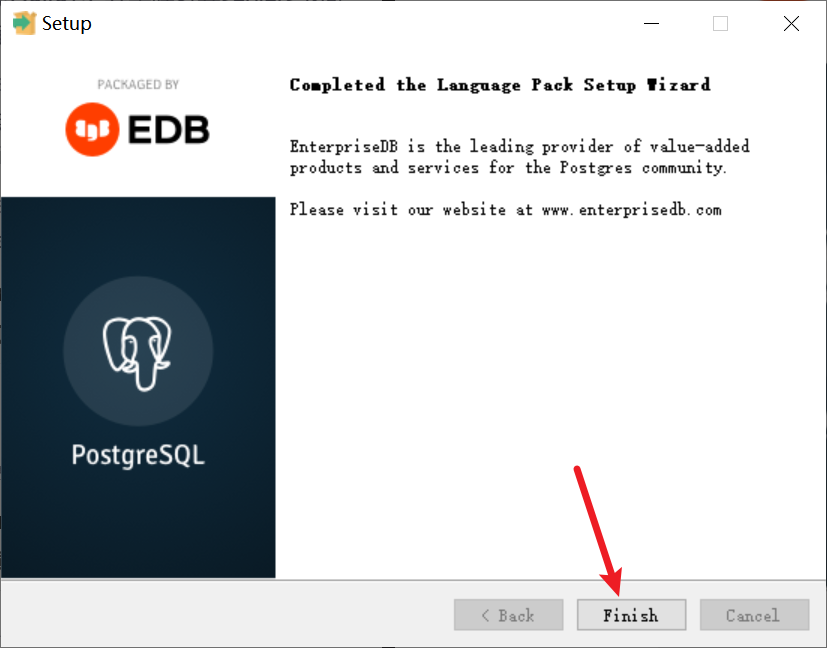
接下的步骤和安装一样!
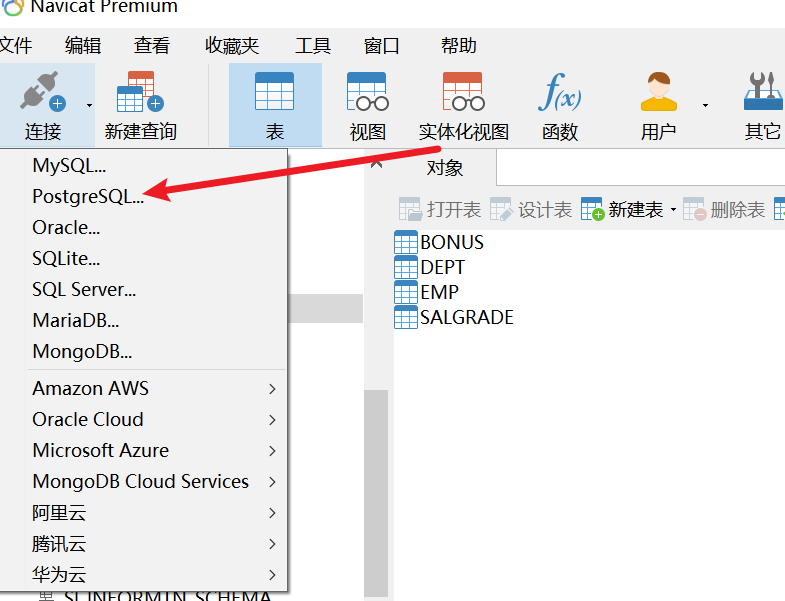
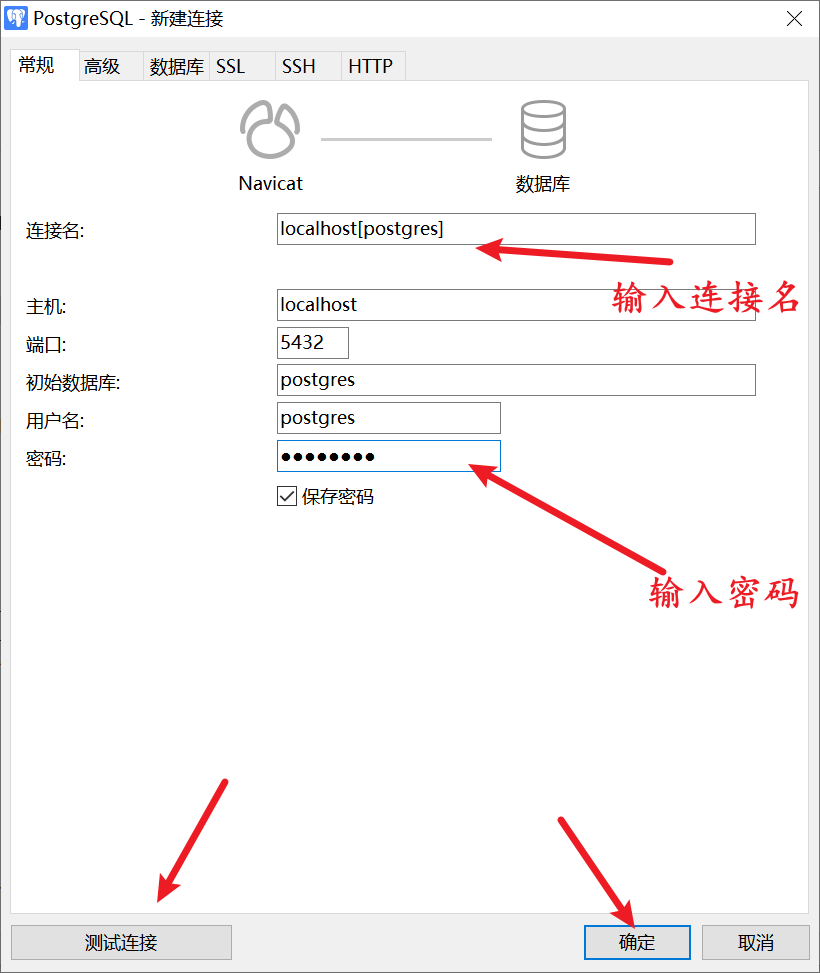
连接PostgreSQL,我们使用Navicat作为连接工具:
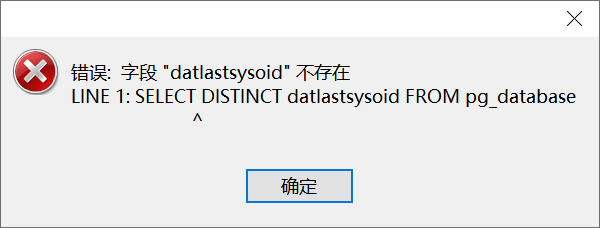
出现这个问题,解决方法:解决Navicat连接postgresql时出现‘datlastsysoid does not exist‘报错-CSDN博客
然后重启Navicat就可以了!
参考:
Windows下postgresql安装步骤(超级详细)postgresql edb language pack&小汤的博客-CSDN博客
安装和连接MySQL
你可以在此处下载MySQL:
MySQL Community Server release:https://dev.mysql.com/downloads/mysql/MySQL Community Archives:https://downloads.mysql.com/archives/community/- MySQL的所有下载安装资源:https://dev.mysql.com/downloads/
windows下的MySQL安装有两种方法,一种是直接下载压缩包安装,另外一种是基于windows的MSI Installer(msi安装器)来安装。
此处我们先介绍如何使用msi安装器安装,然后再介绍如何使用压缩包的绿色安装。
MSI安装器
自从MySQL 8.0以后,MySQL Installer不再发布,即8.1及以上版本msi安装器只会安装当前版本而不是能够实现安装全版本:
我们仍然能在这个地方找到MySQL 8.0的全版本安装器,在这个地方找到归档的所有安装器,只不过这个安装器已经无法安装MySQL 8.1及以上版本了。
MSI版本的安装视频参考
我们先介绍MySQL 8.0以下的MySQL Installer的安装:
- 准备
MySQL Installer: ,如果希望安装
8.0版本,可以准备(两个安装包都可以在归档中找到)
- 双击打开,等待加载
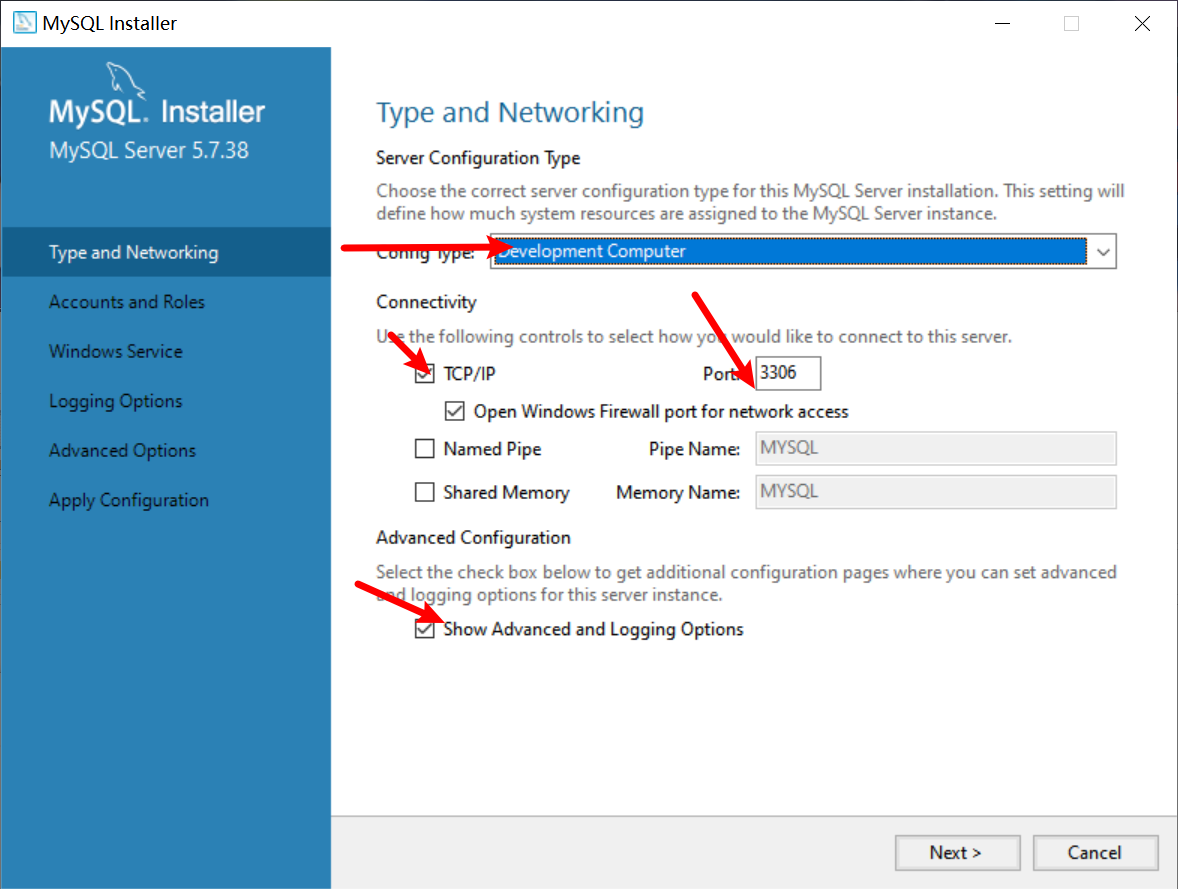
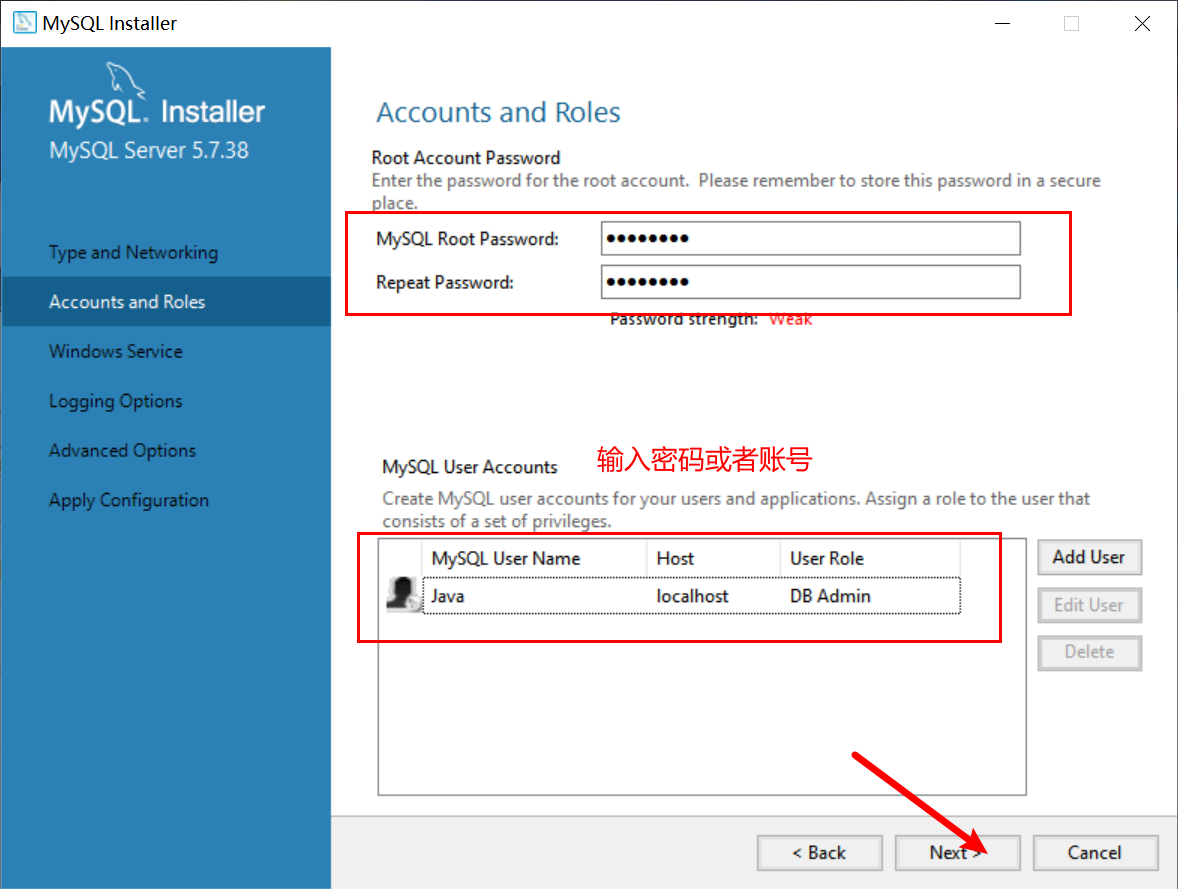
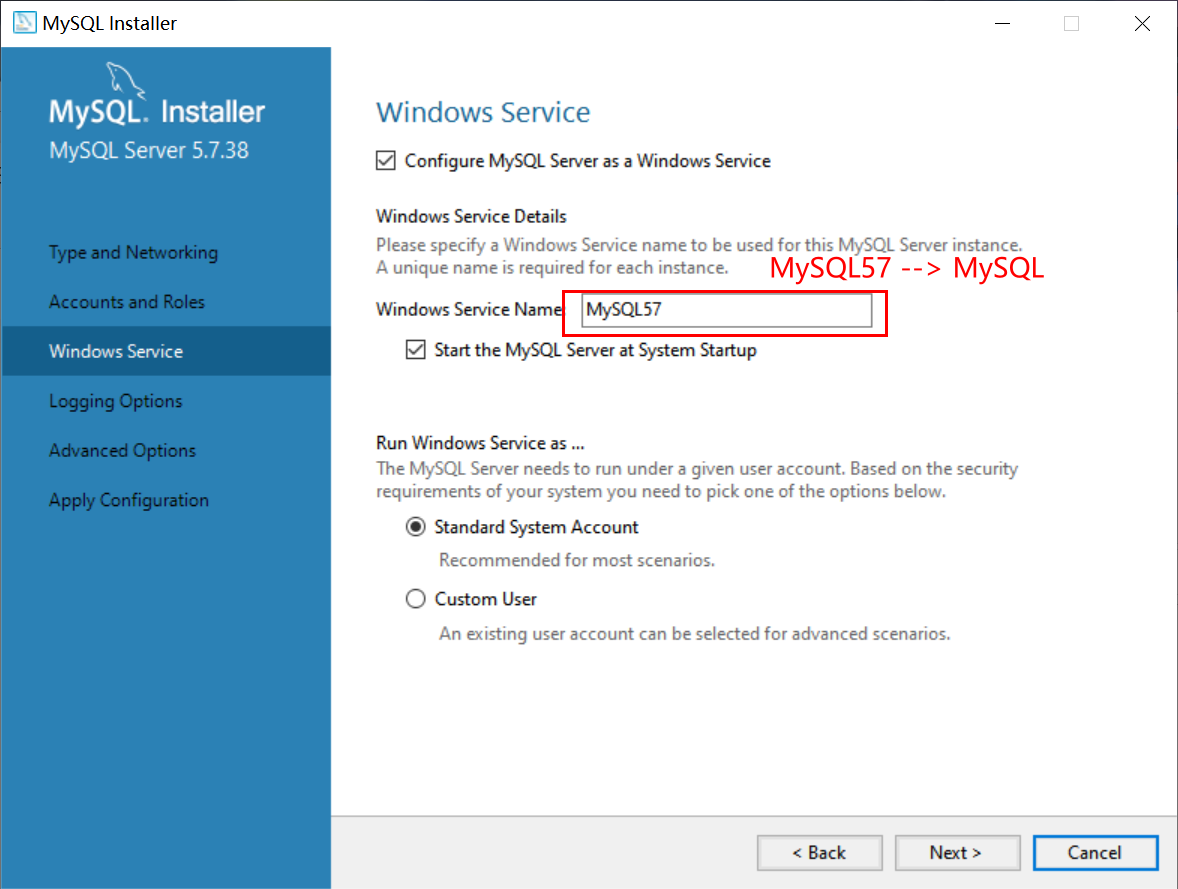
- 进入安装界面,操作见下图
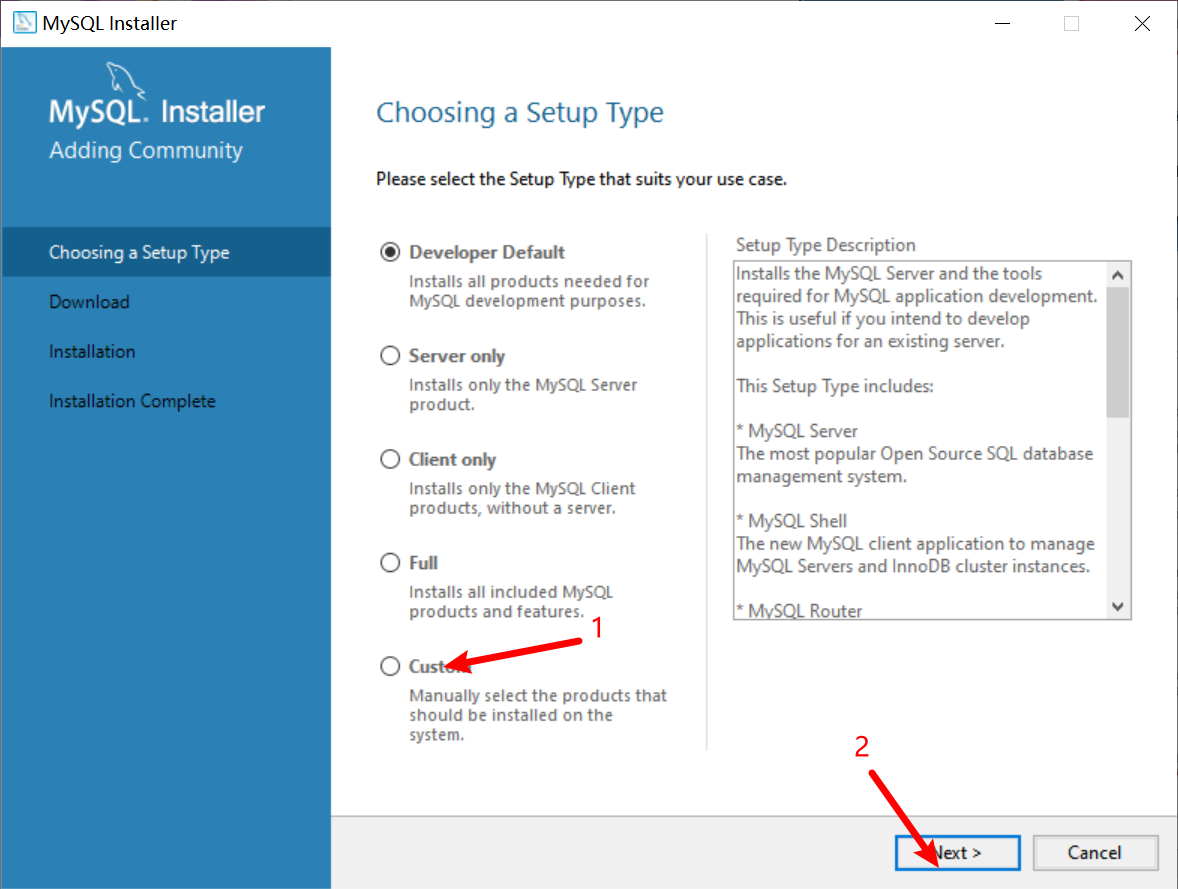
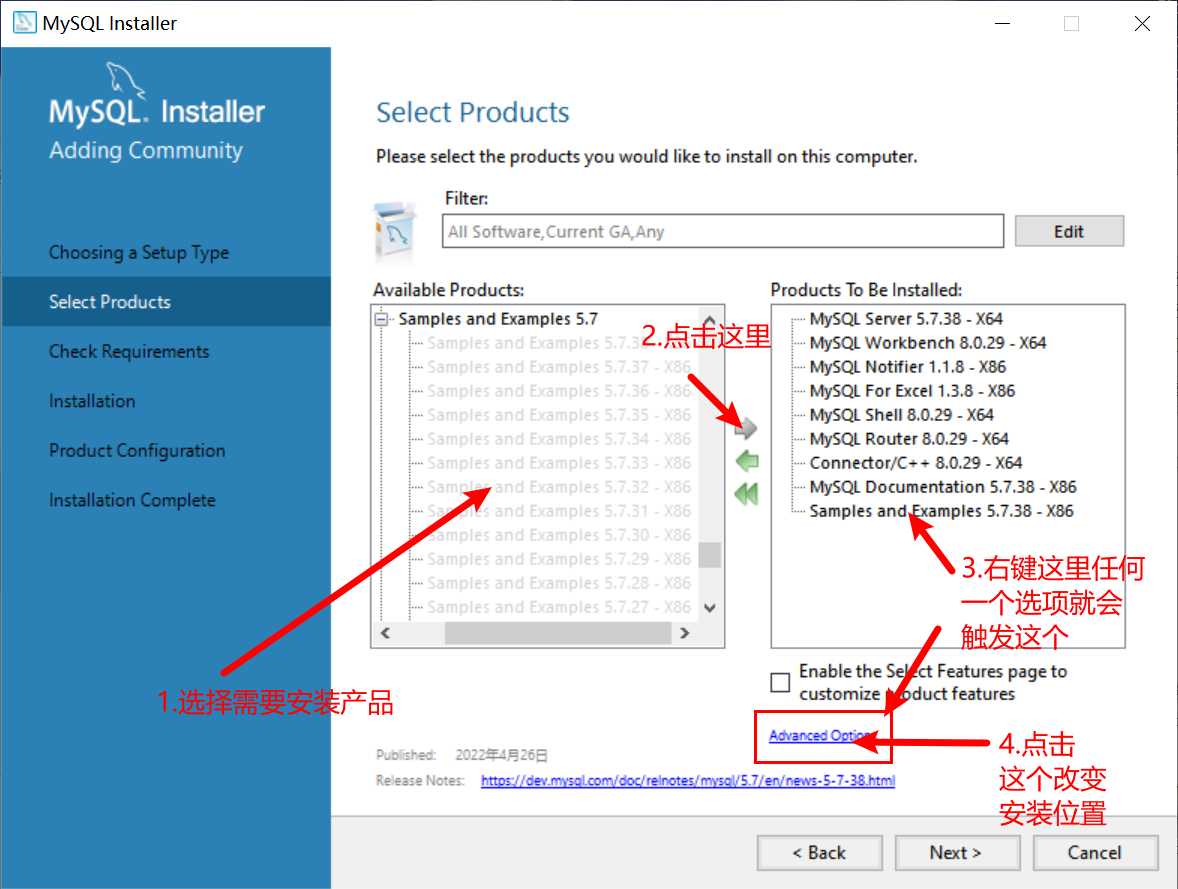
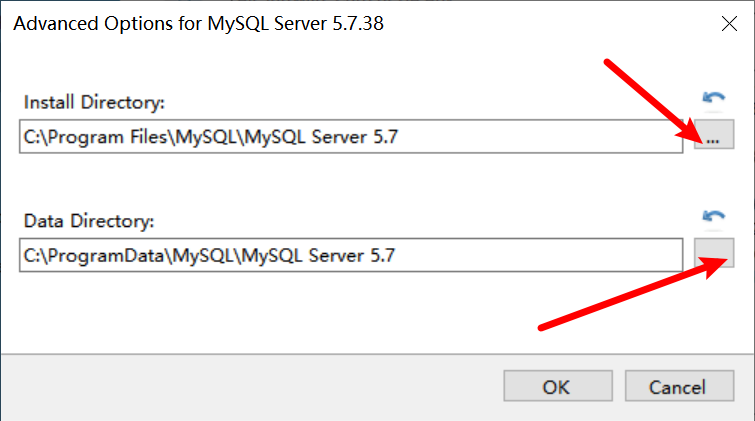

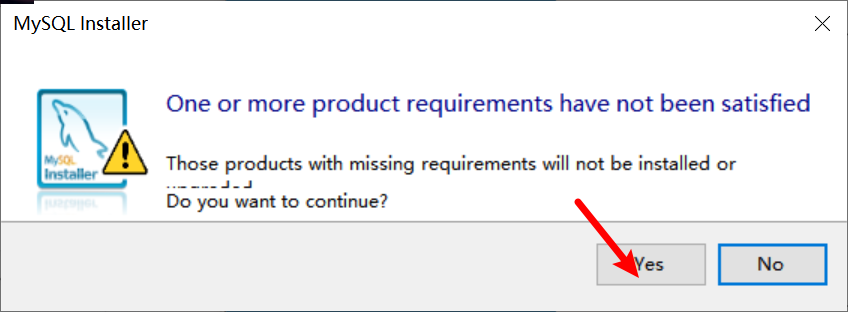
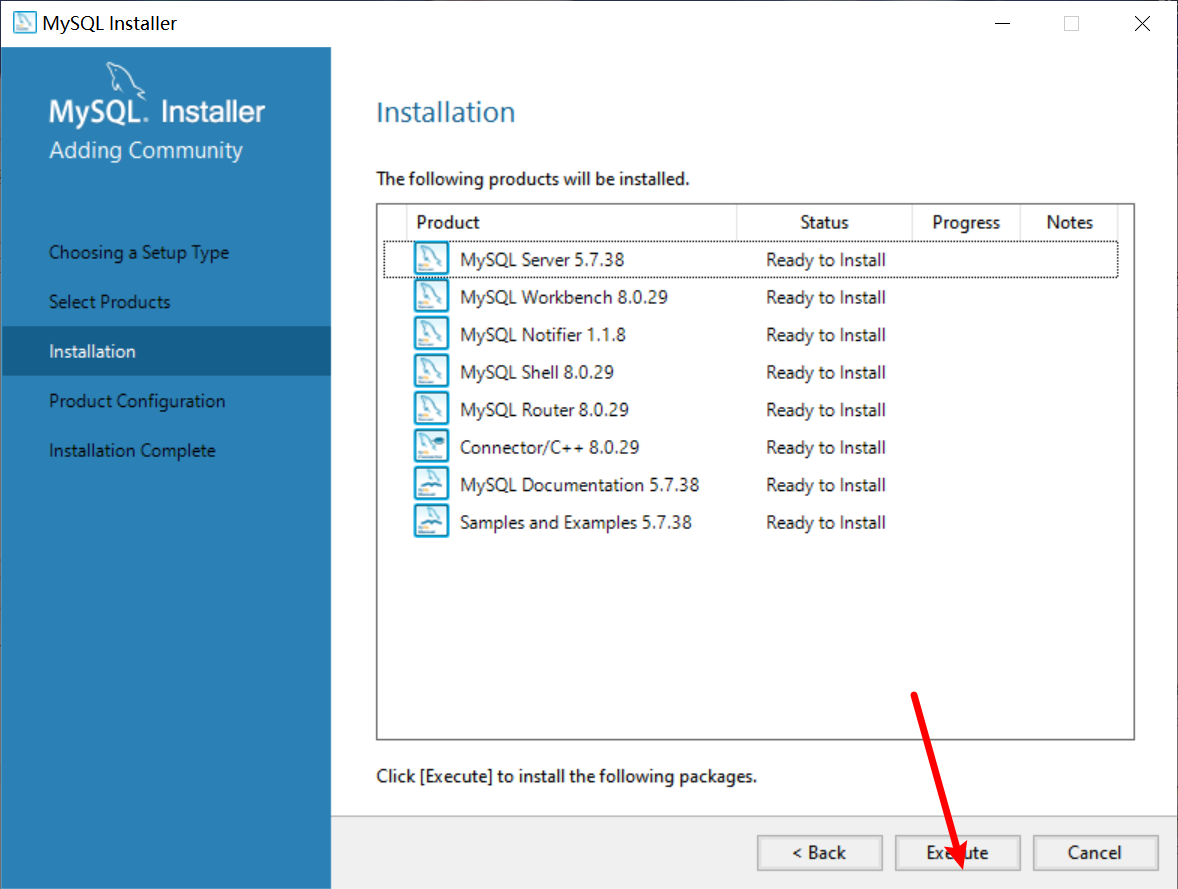
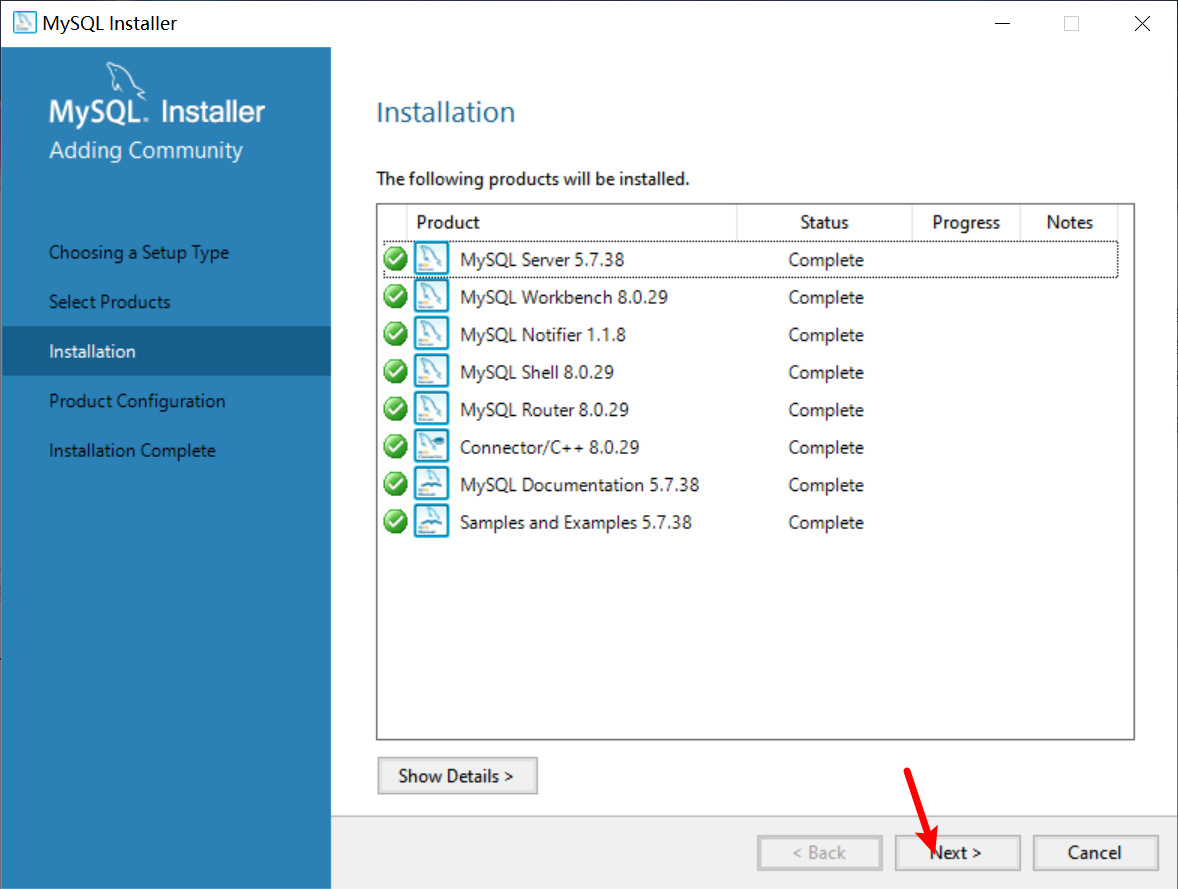

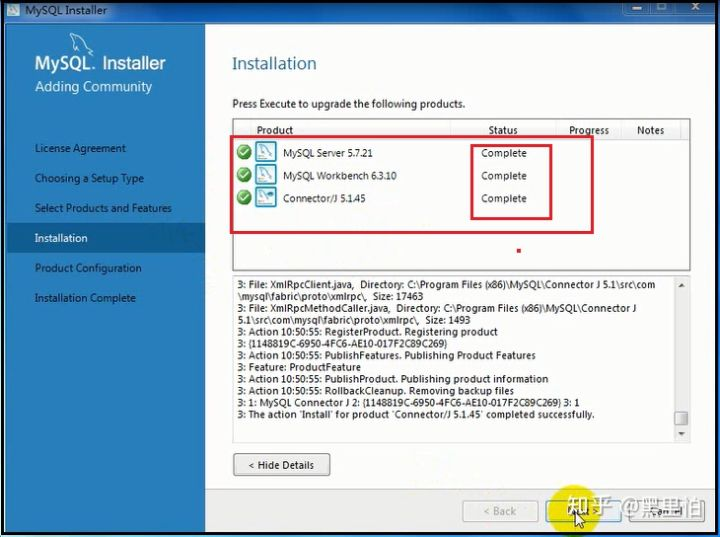
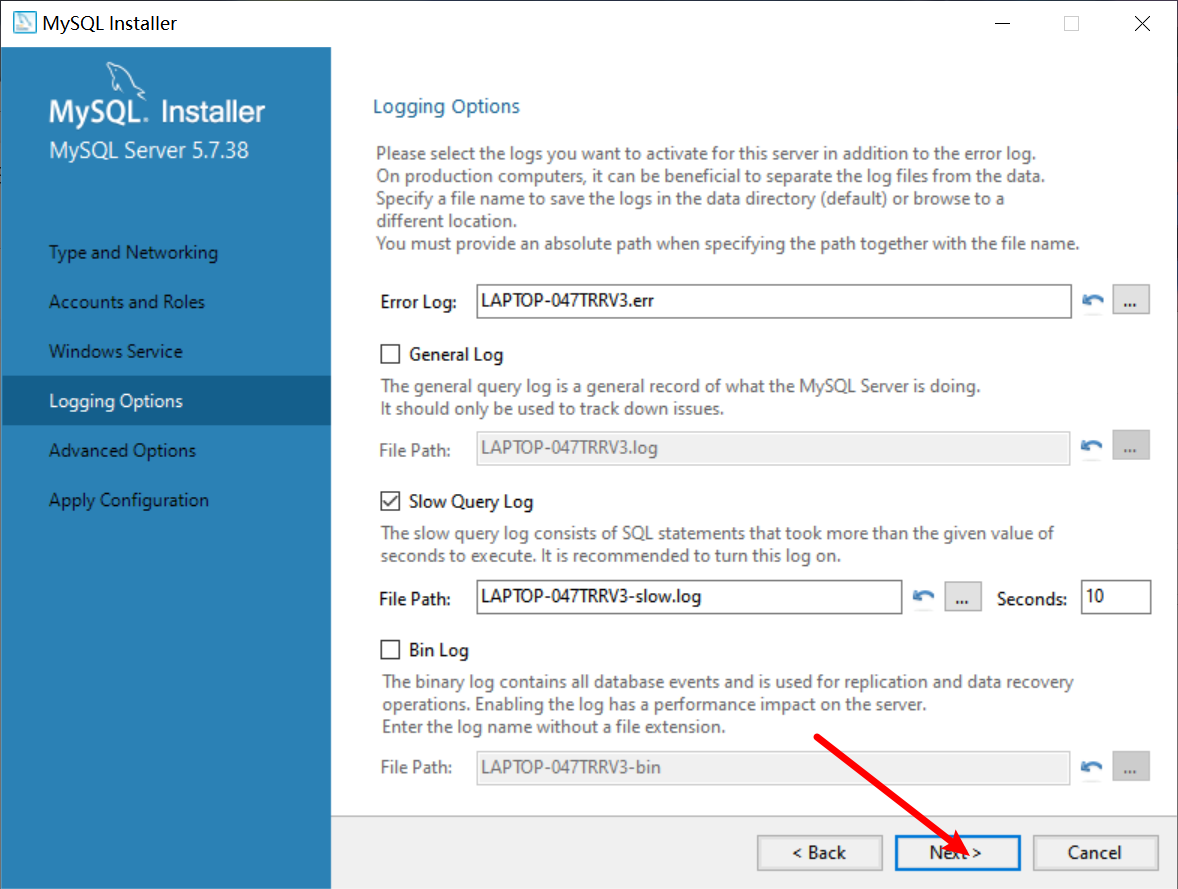
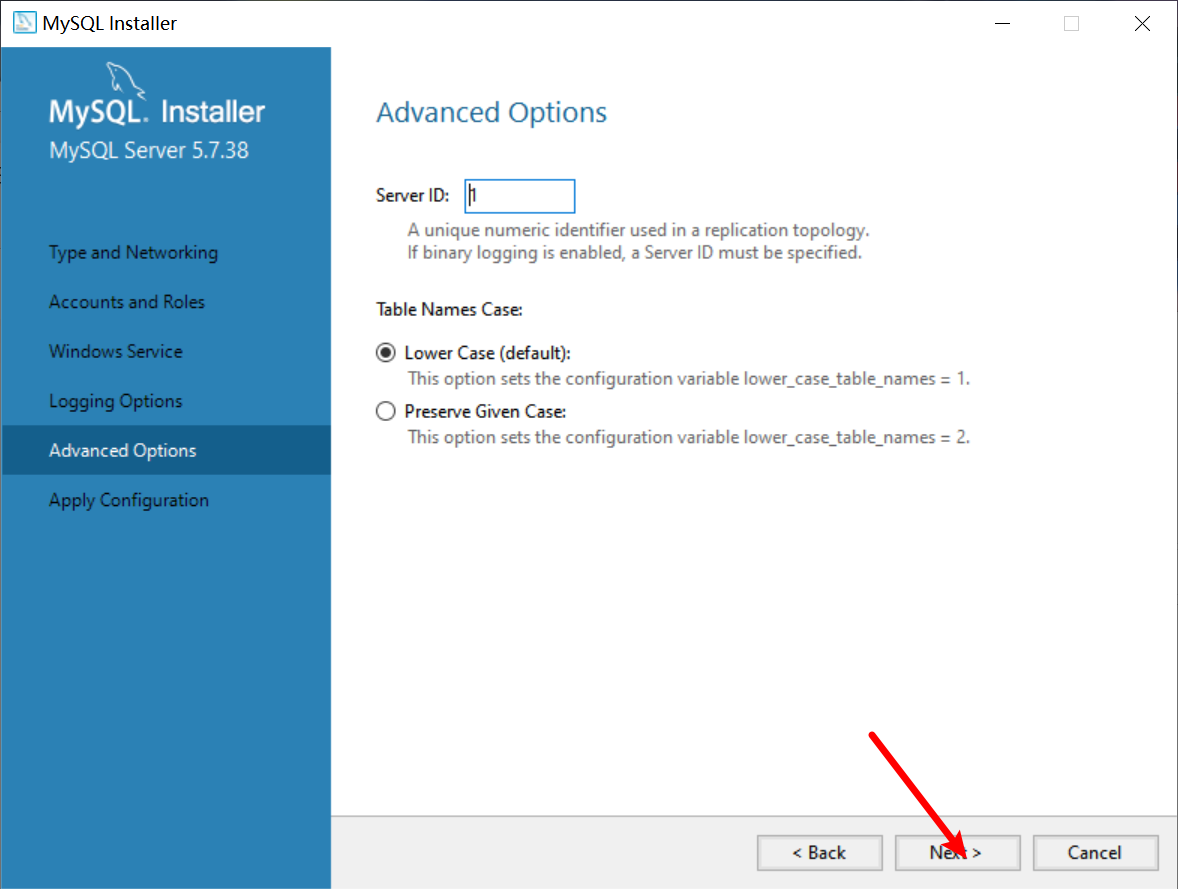
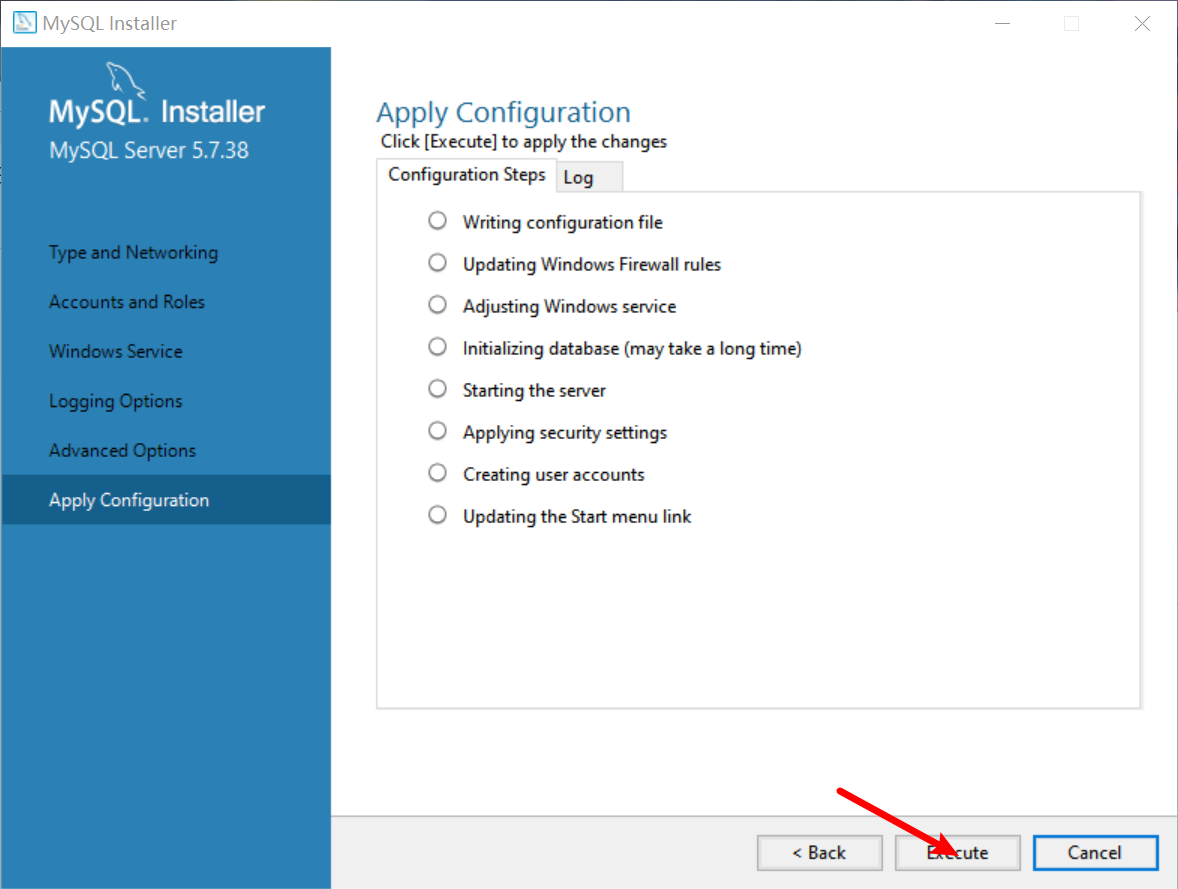

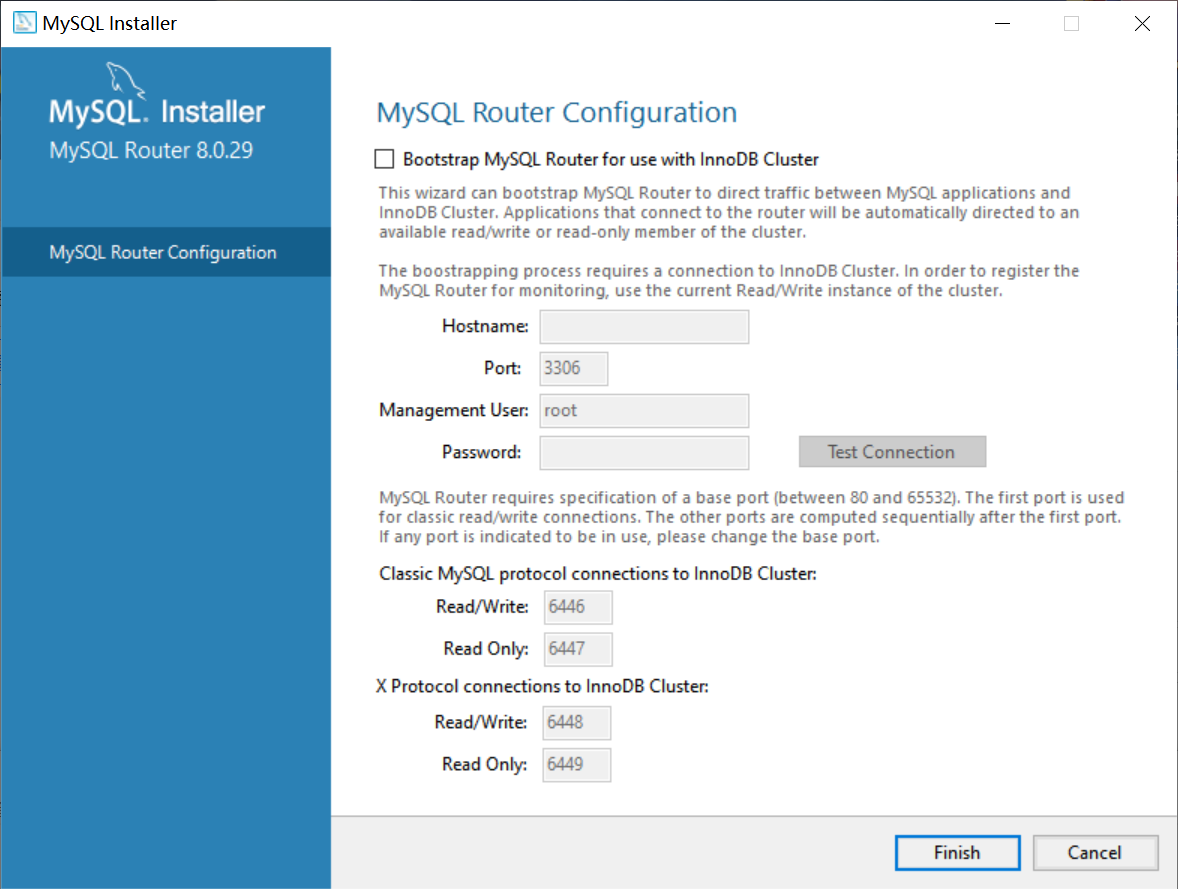
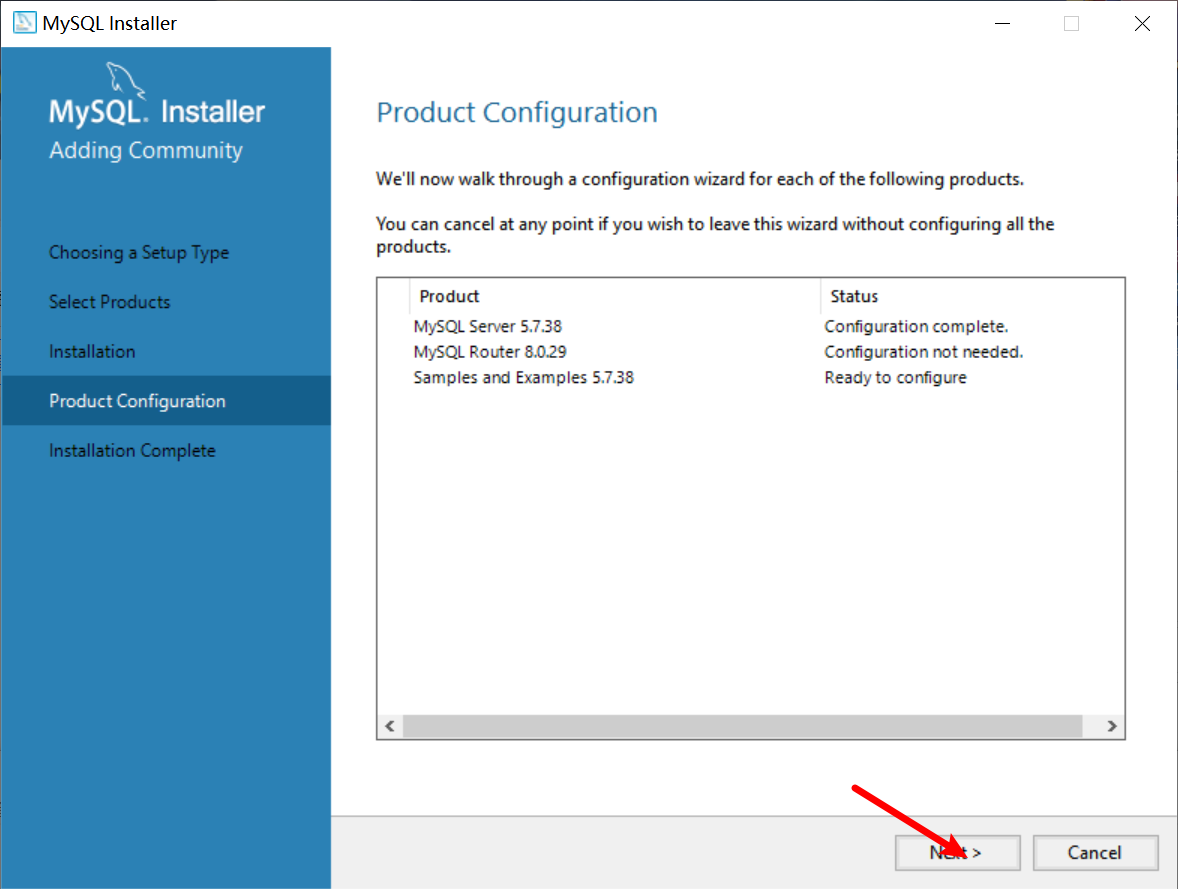
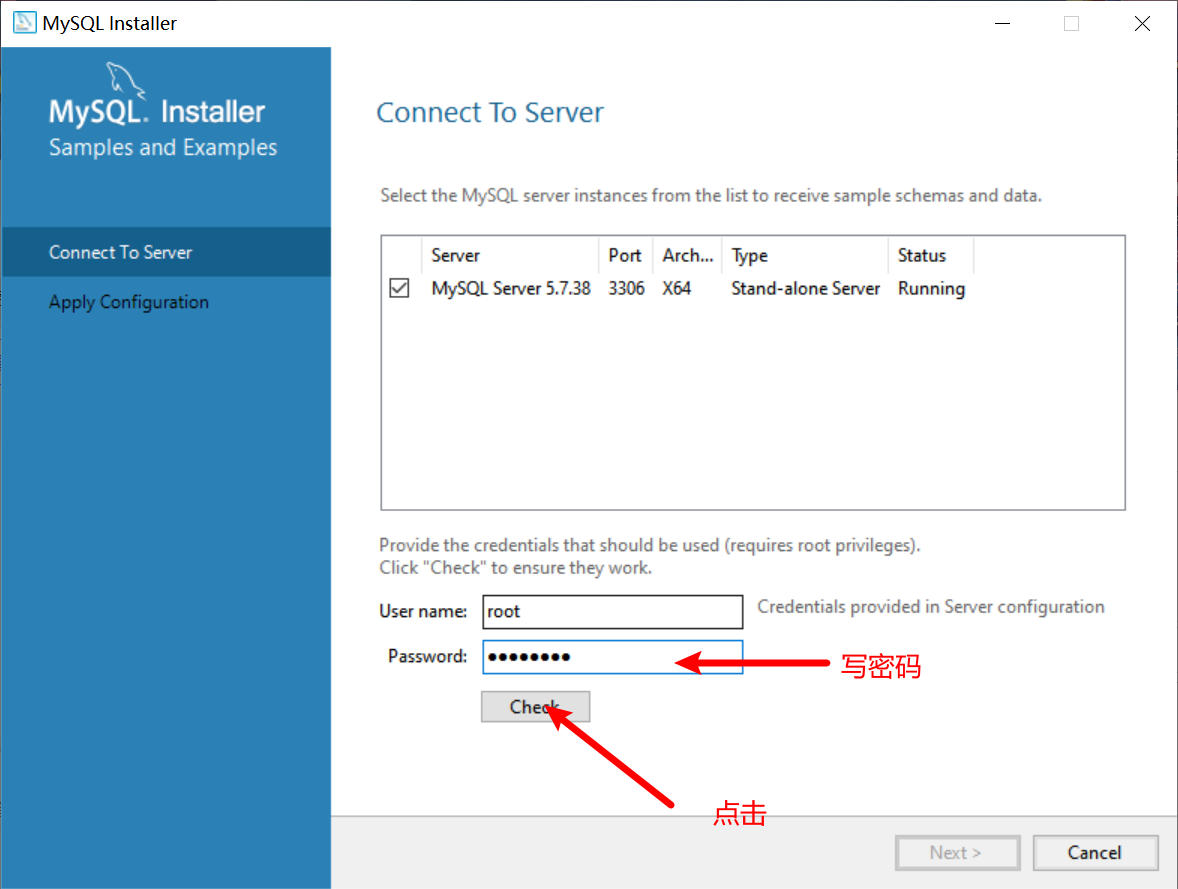
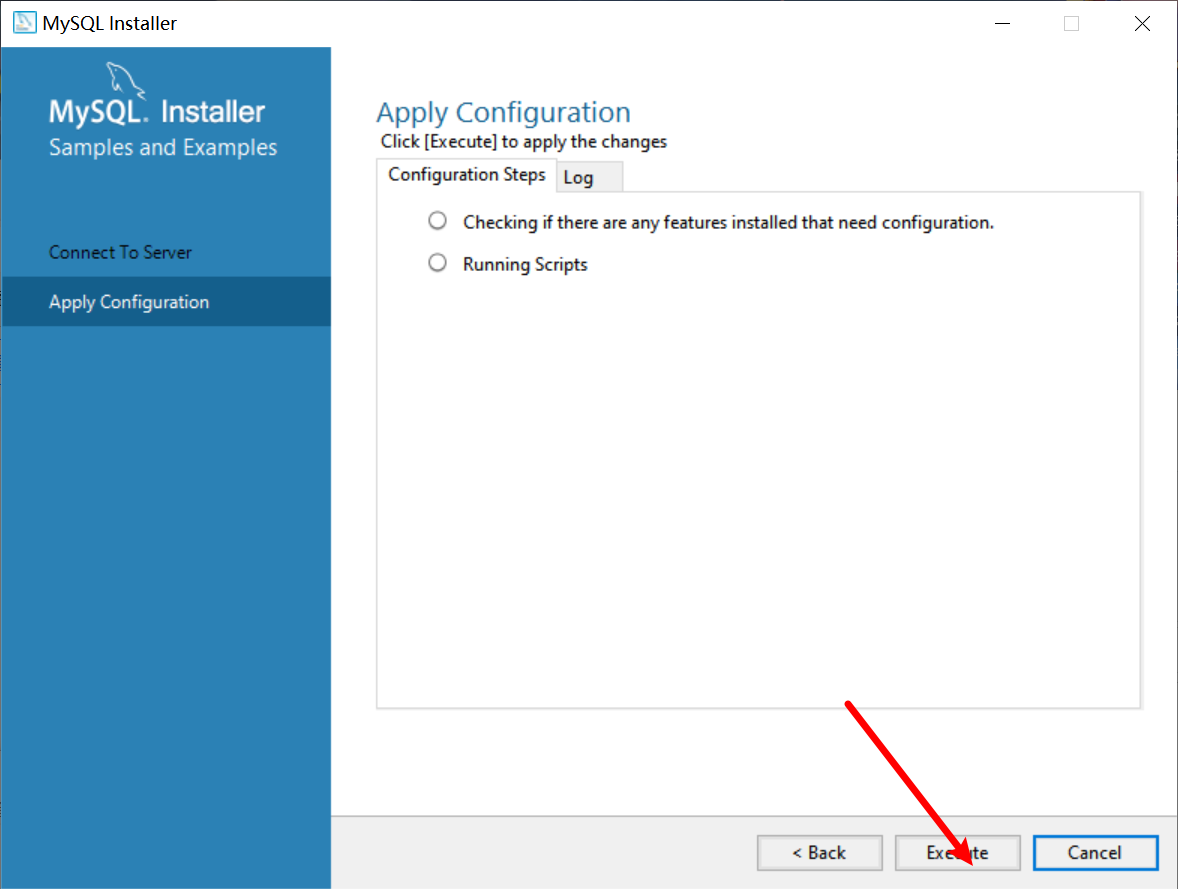
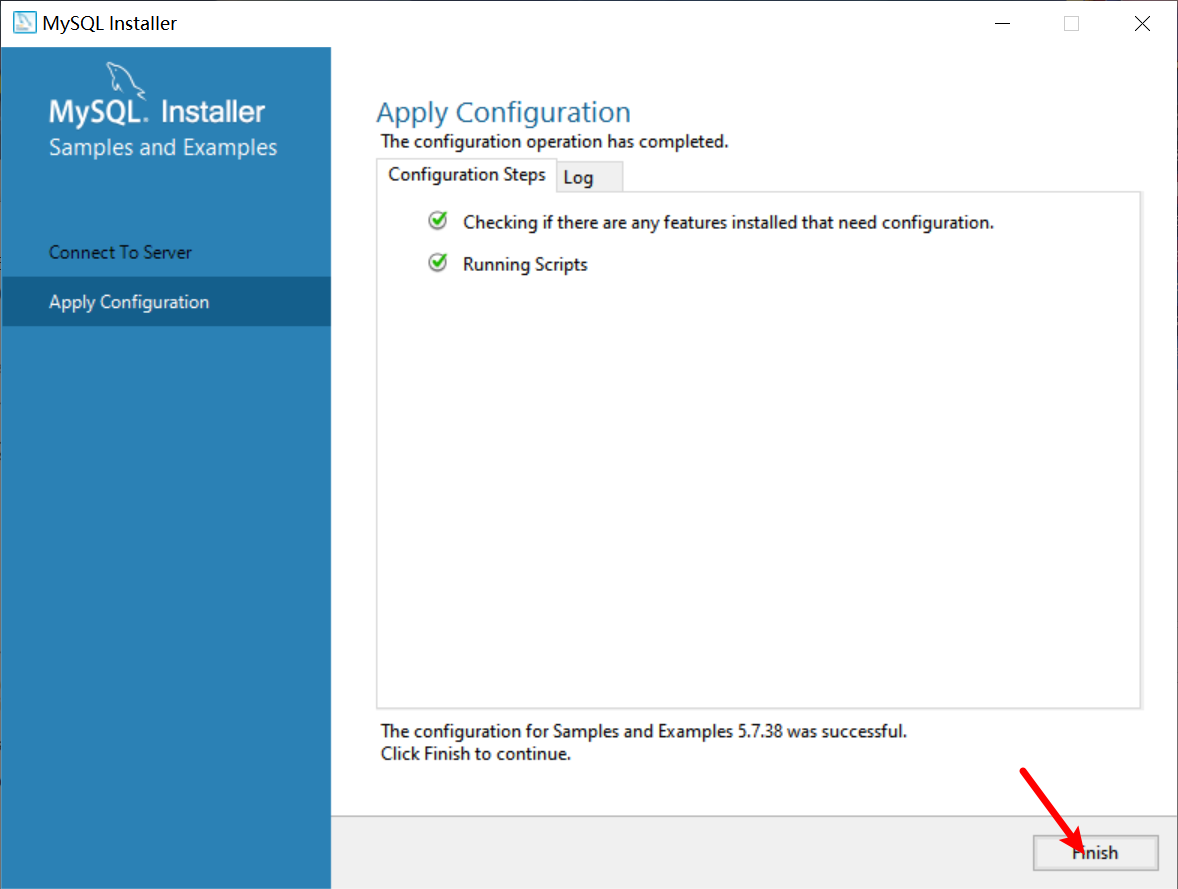
安装过程中可能会出问题,一旦安装出问题,可以点击右侧的log进行查看到底什么问题(基本出事最多的就是目录用了中文)
压缩包绿色安装
安装和连接Oracle
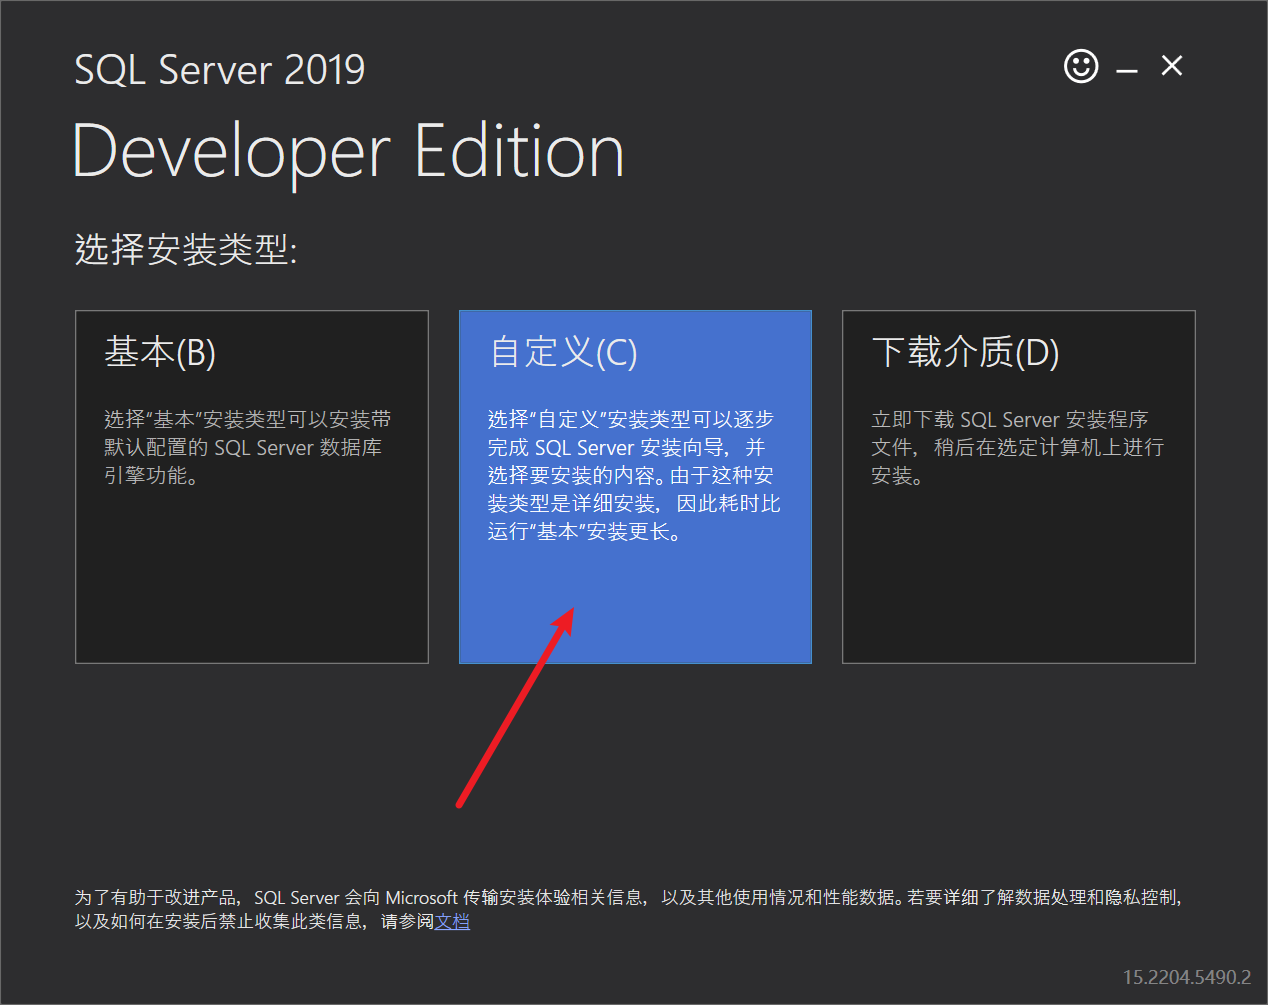
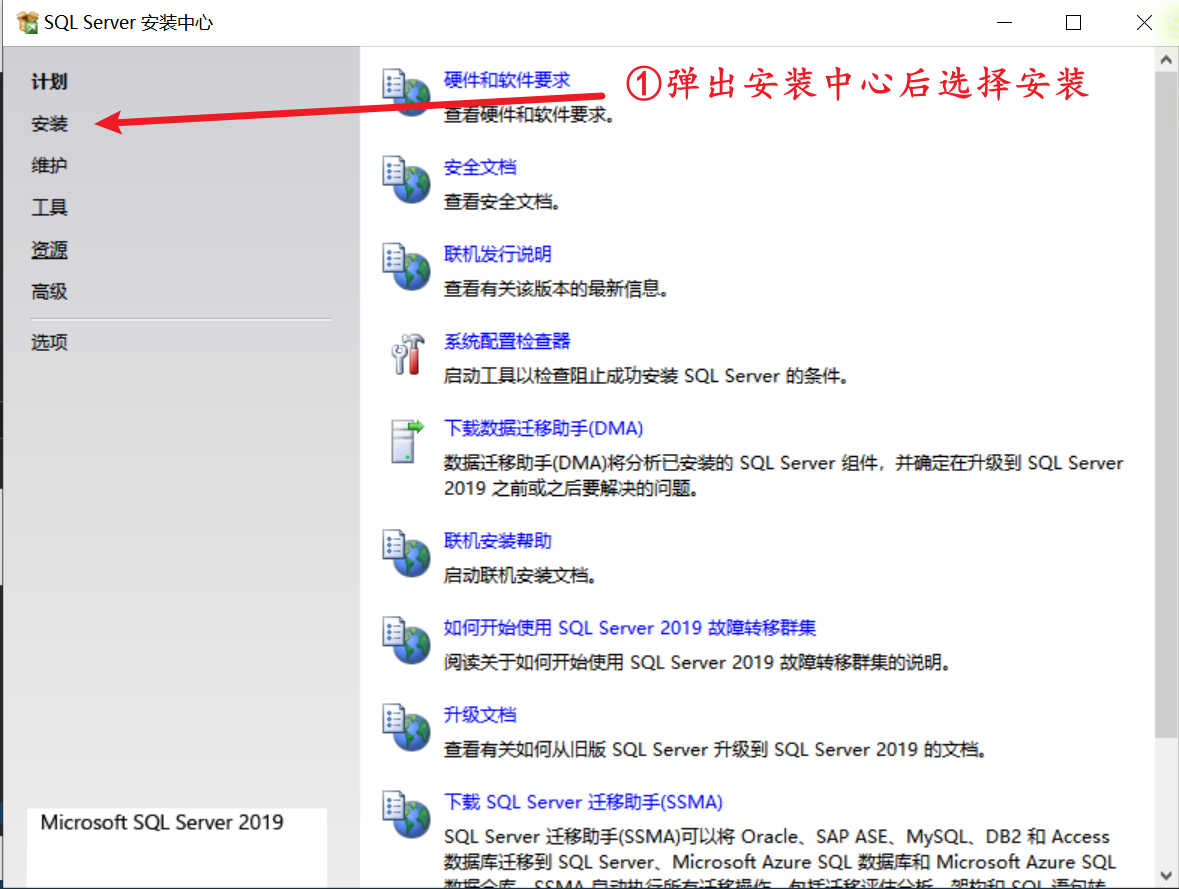
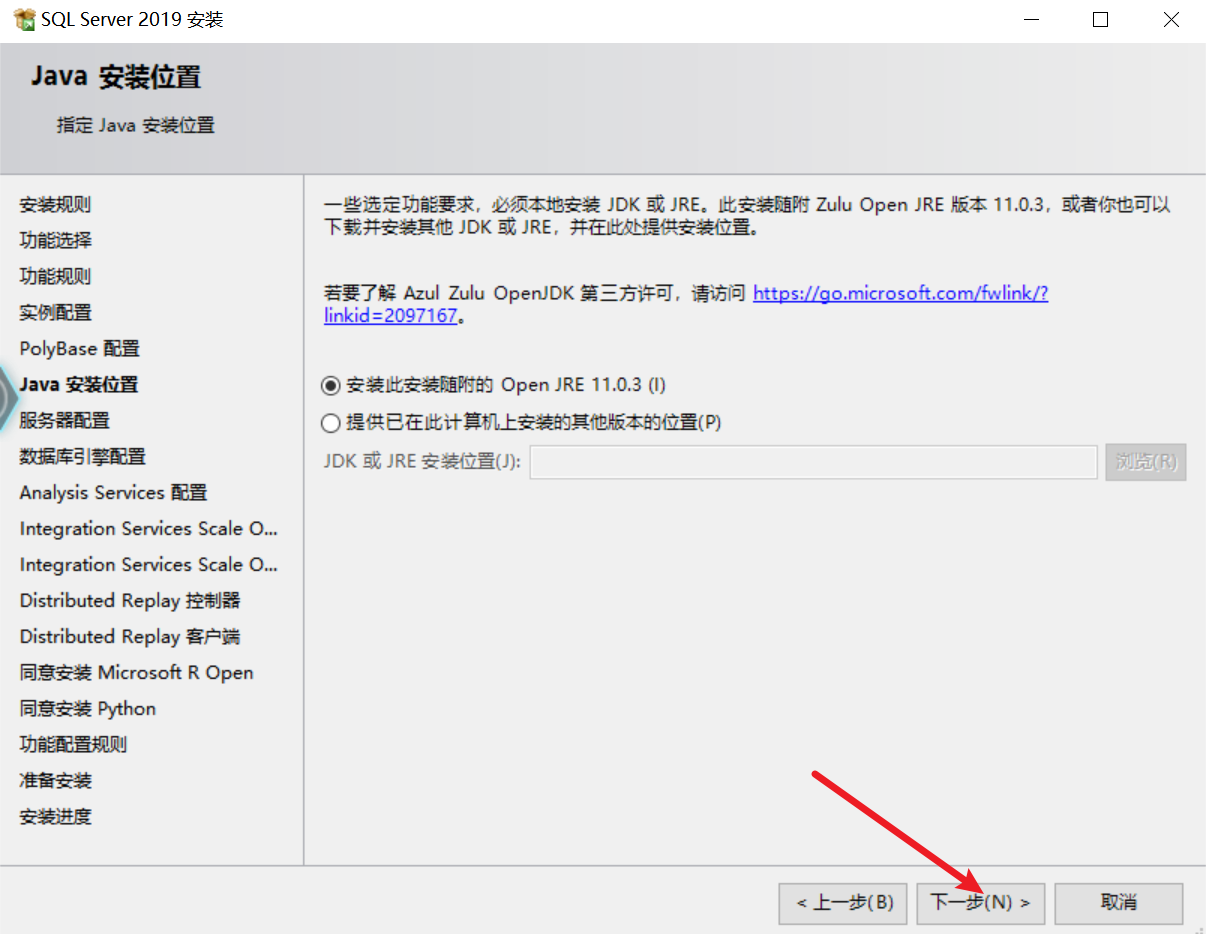
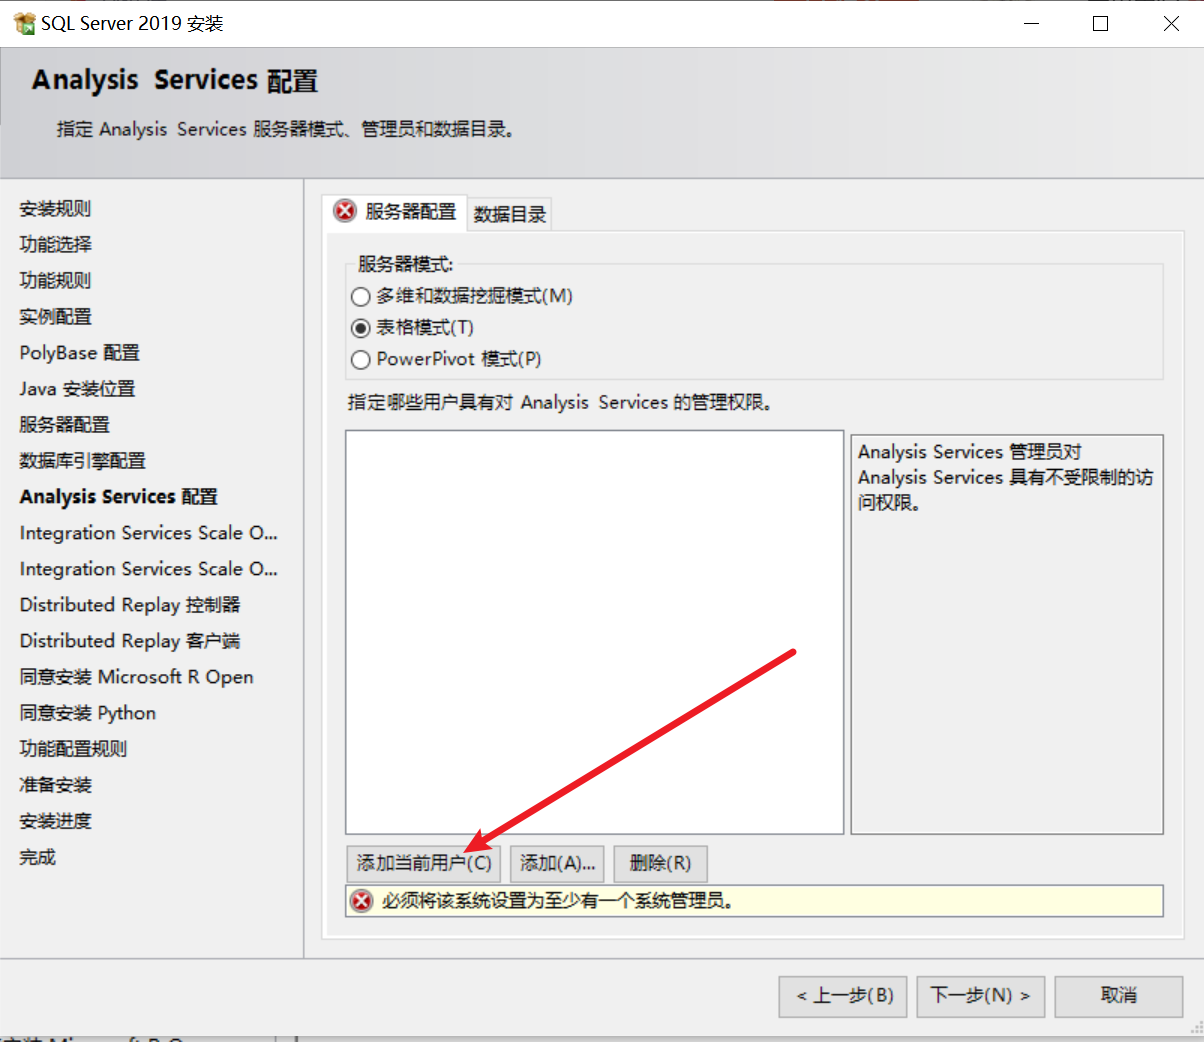
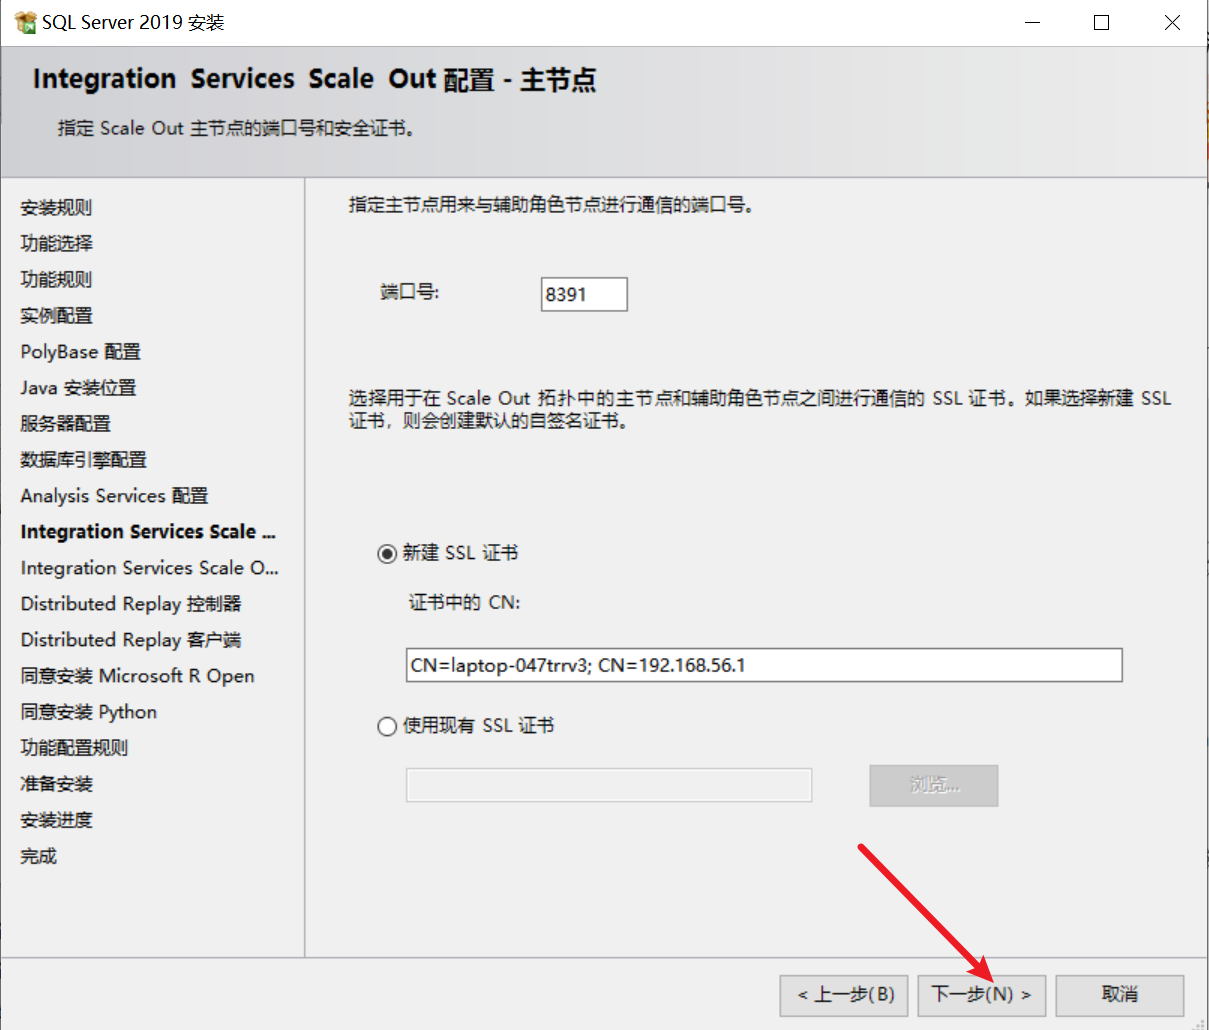
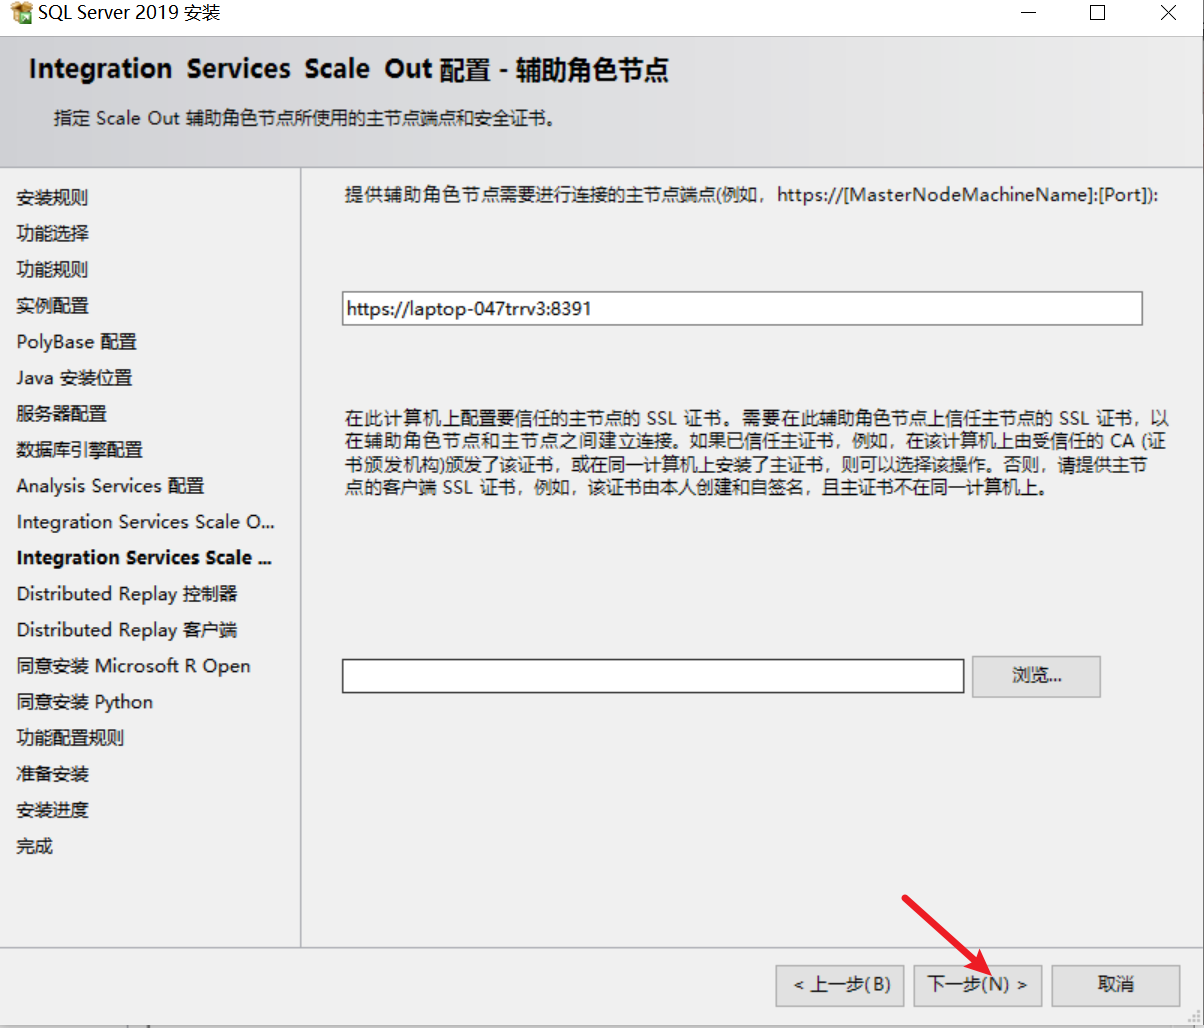
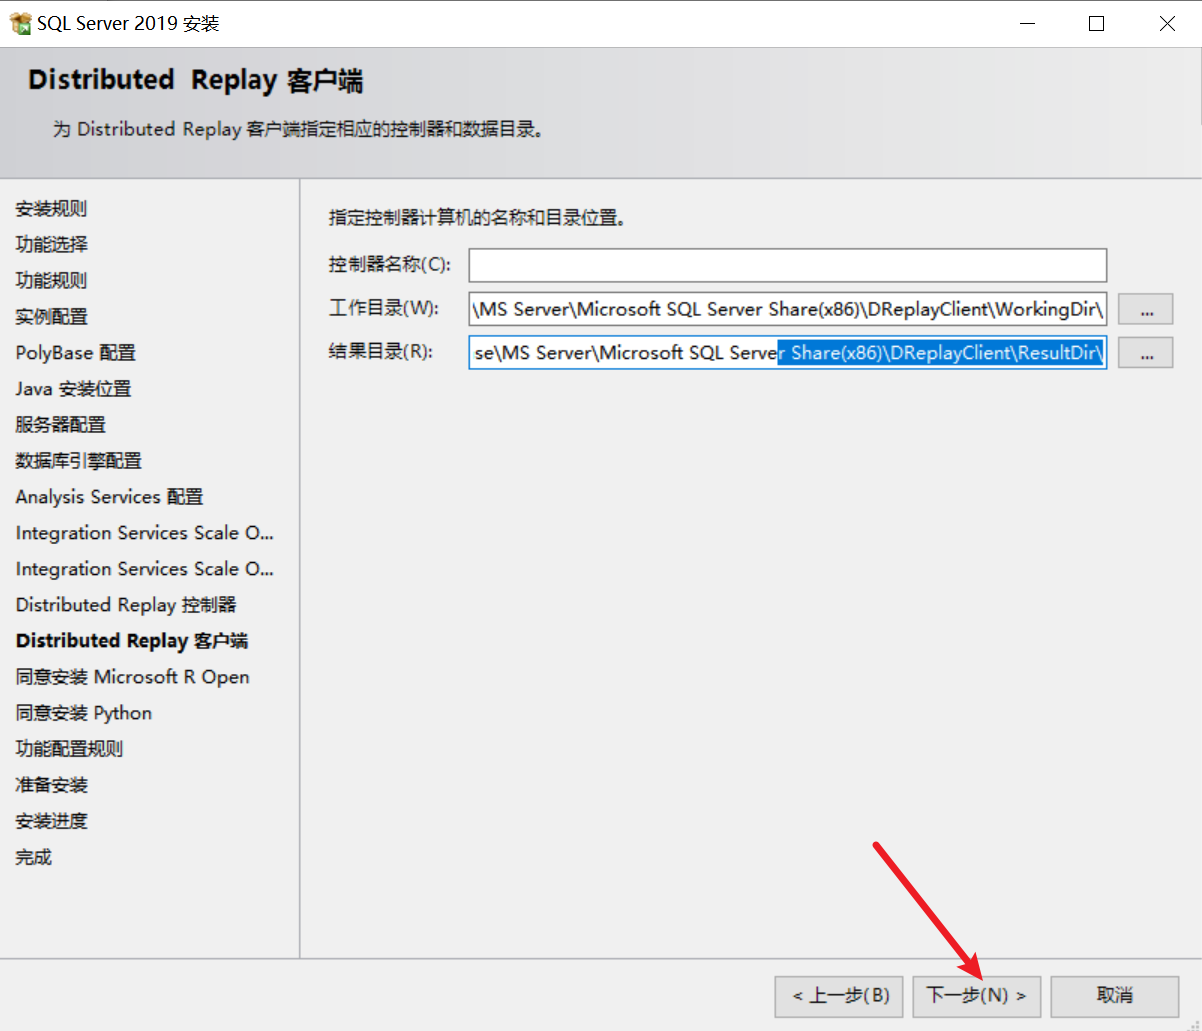
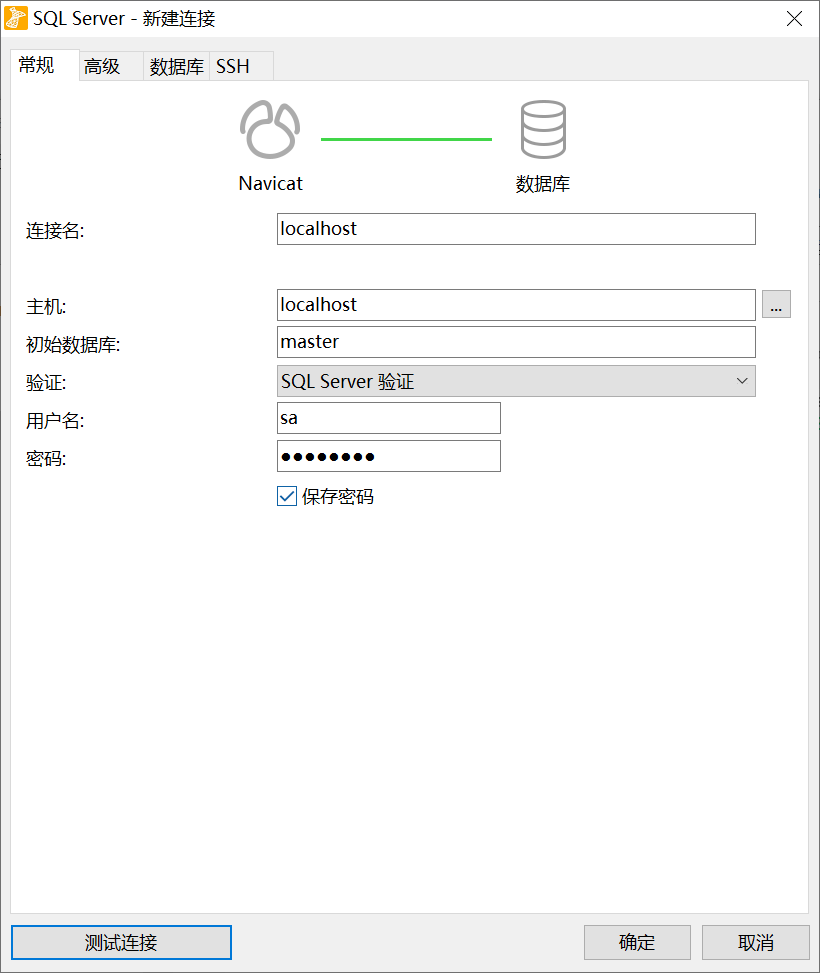
安装和连接MS Server
下载MS Server 2019:https://go.microsoft.com/fwlink/?linkid=866662

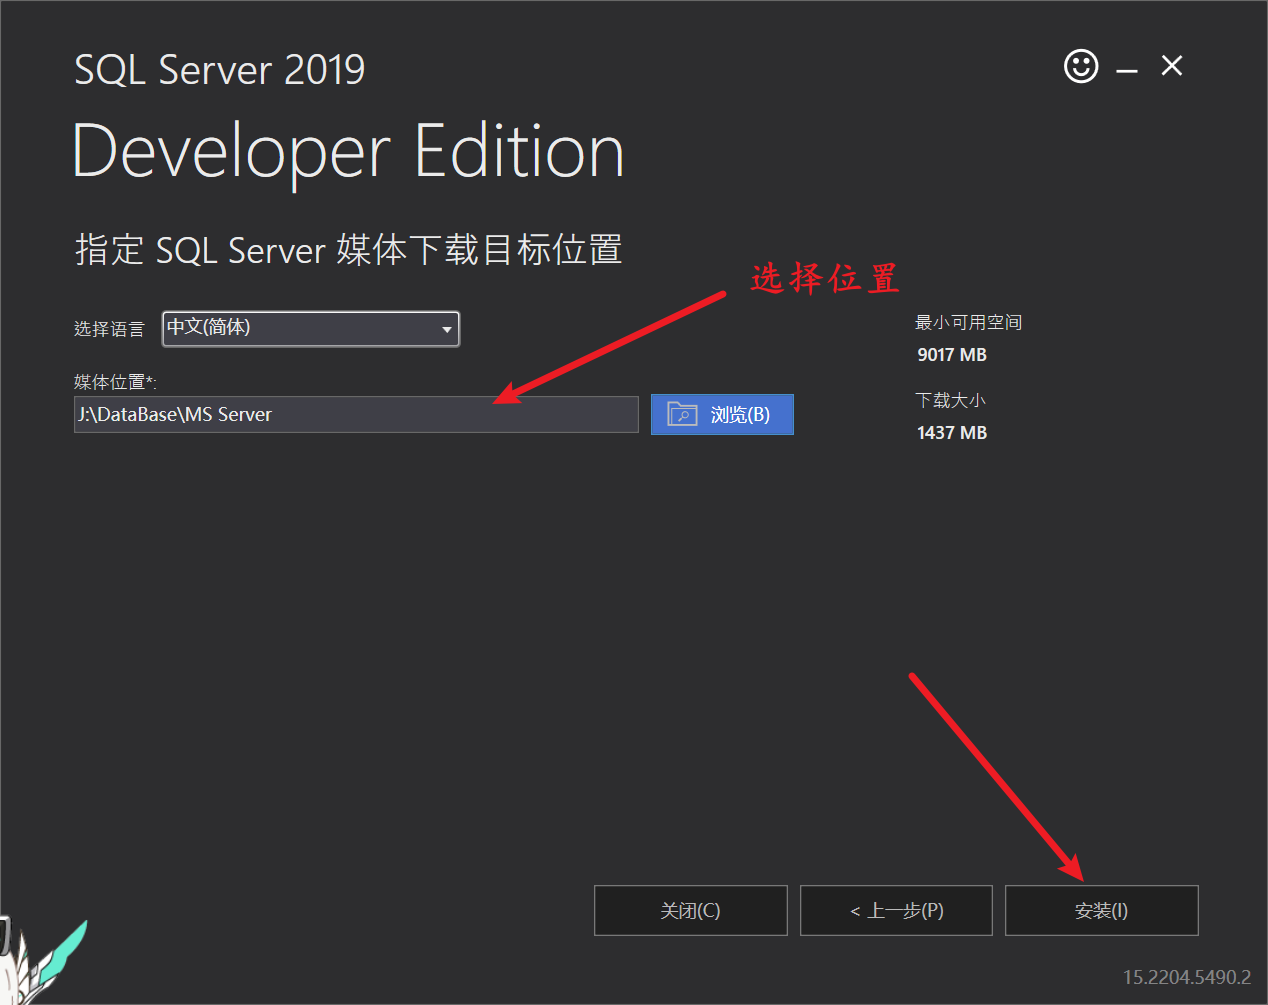
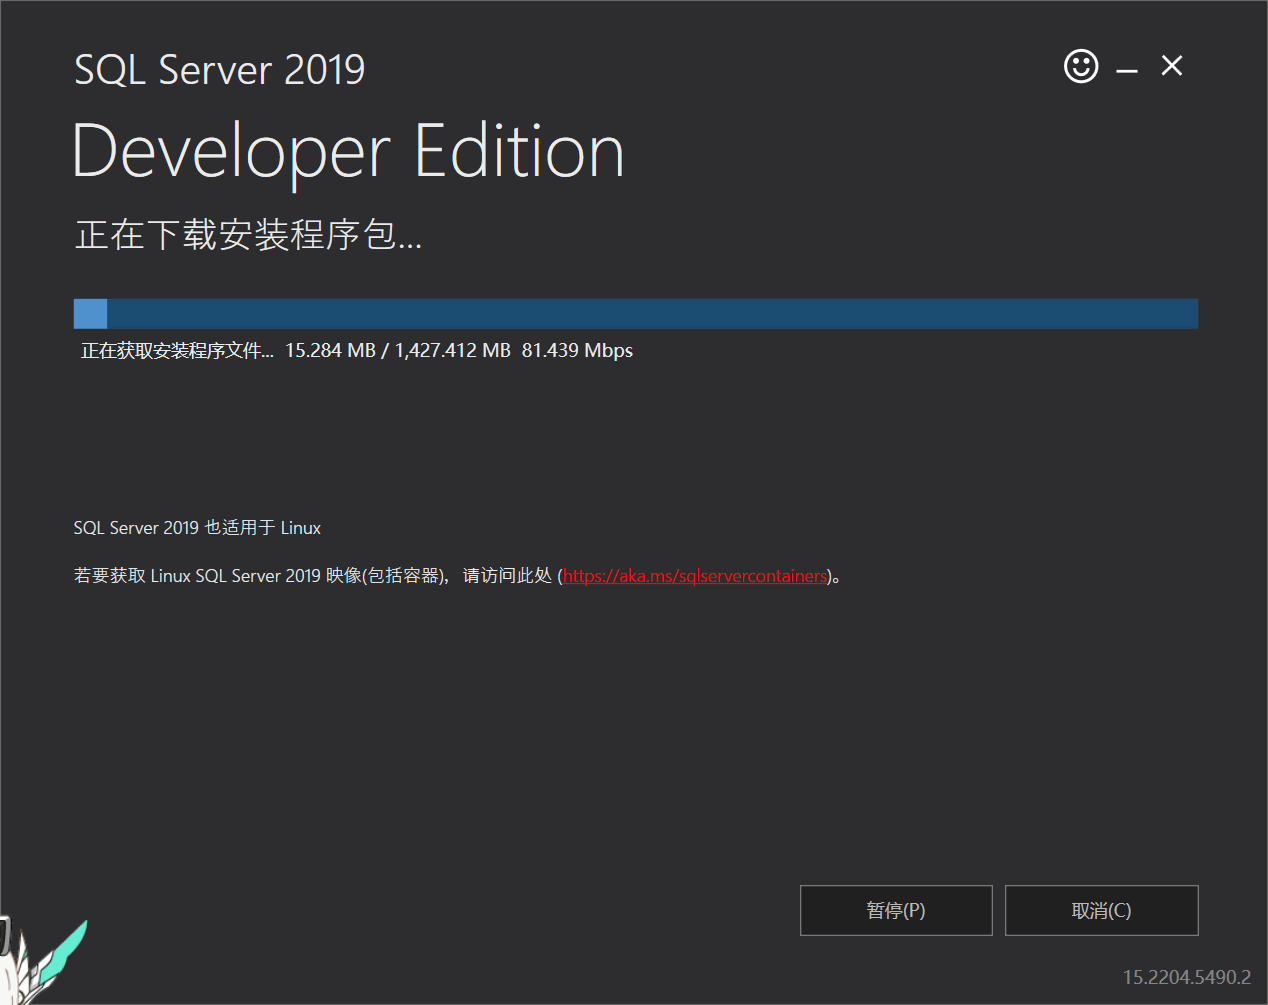
等待下载

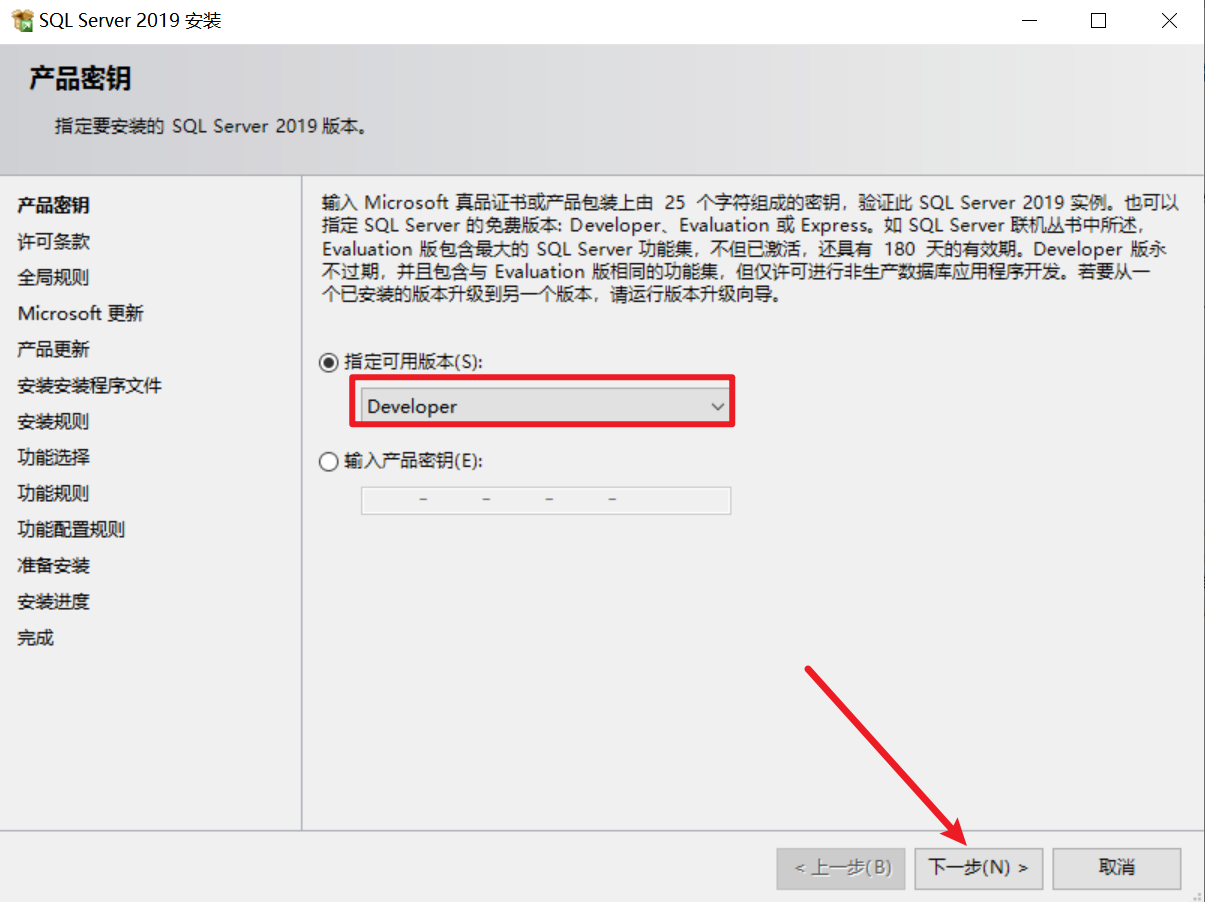
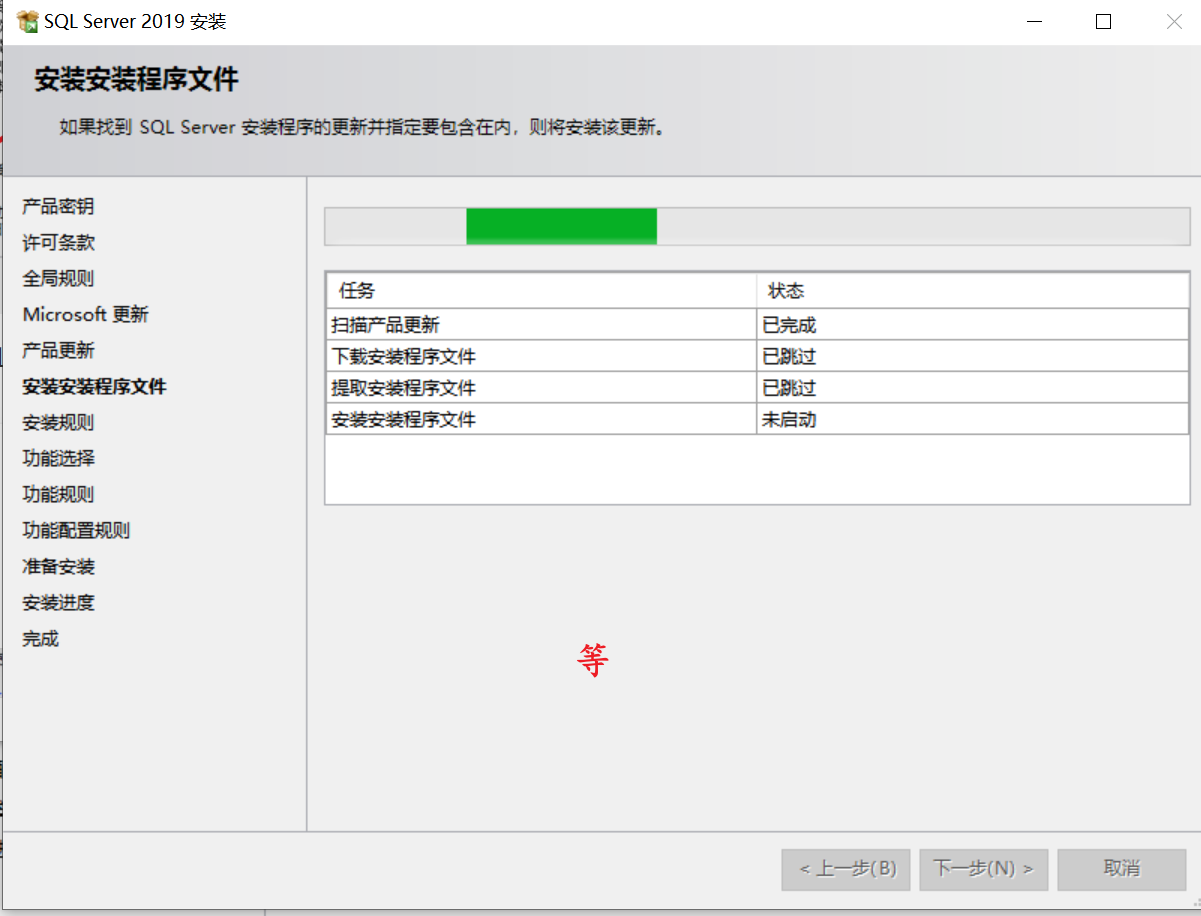
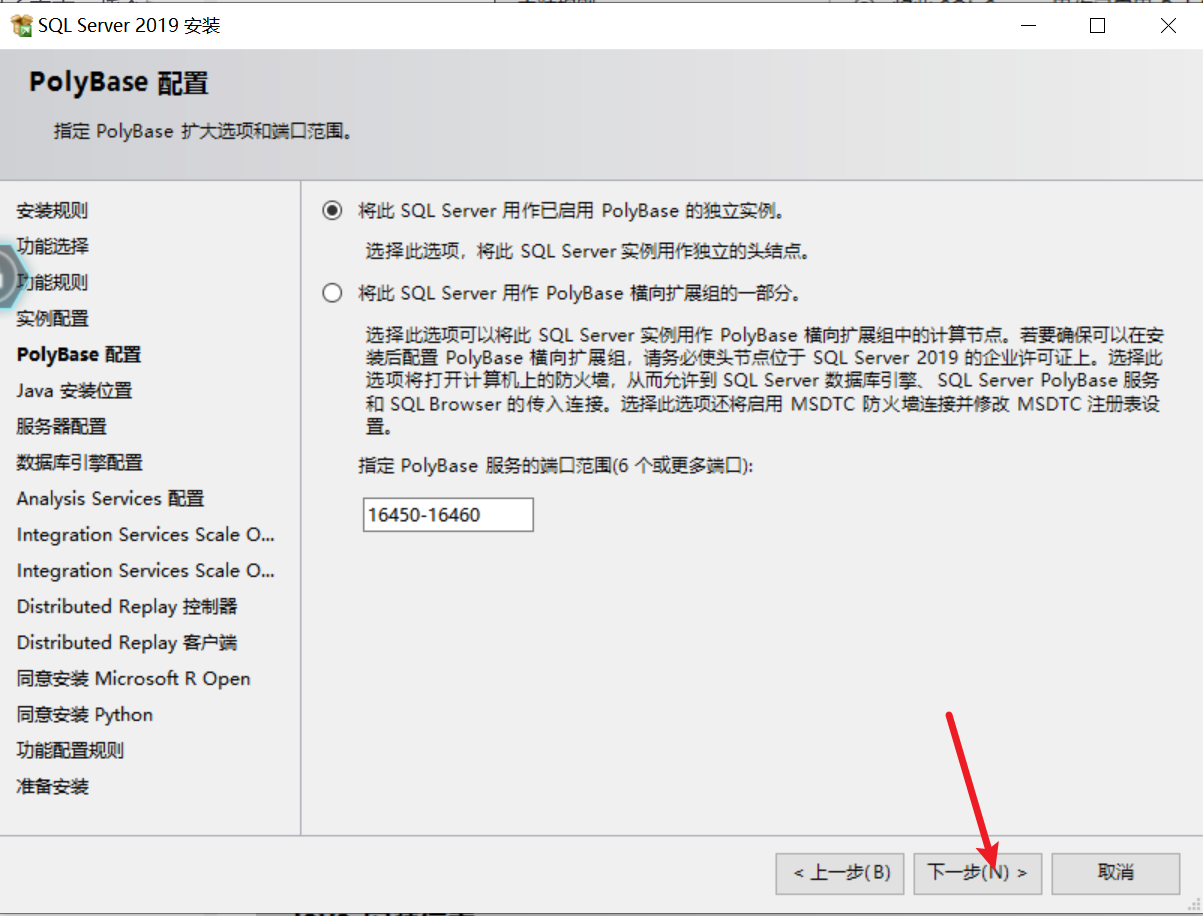

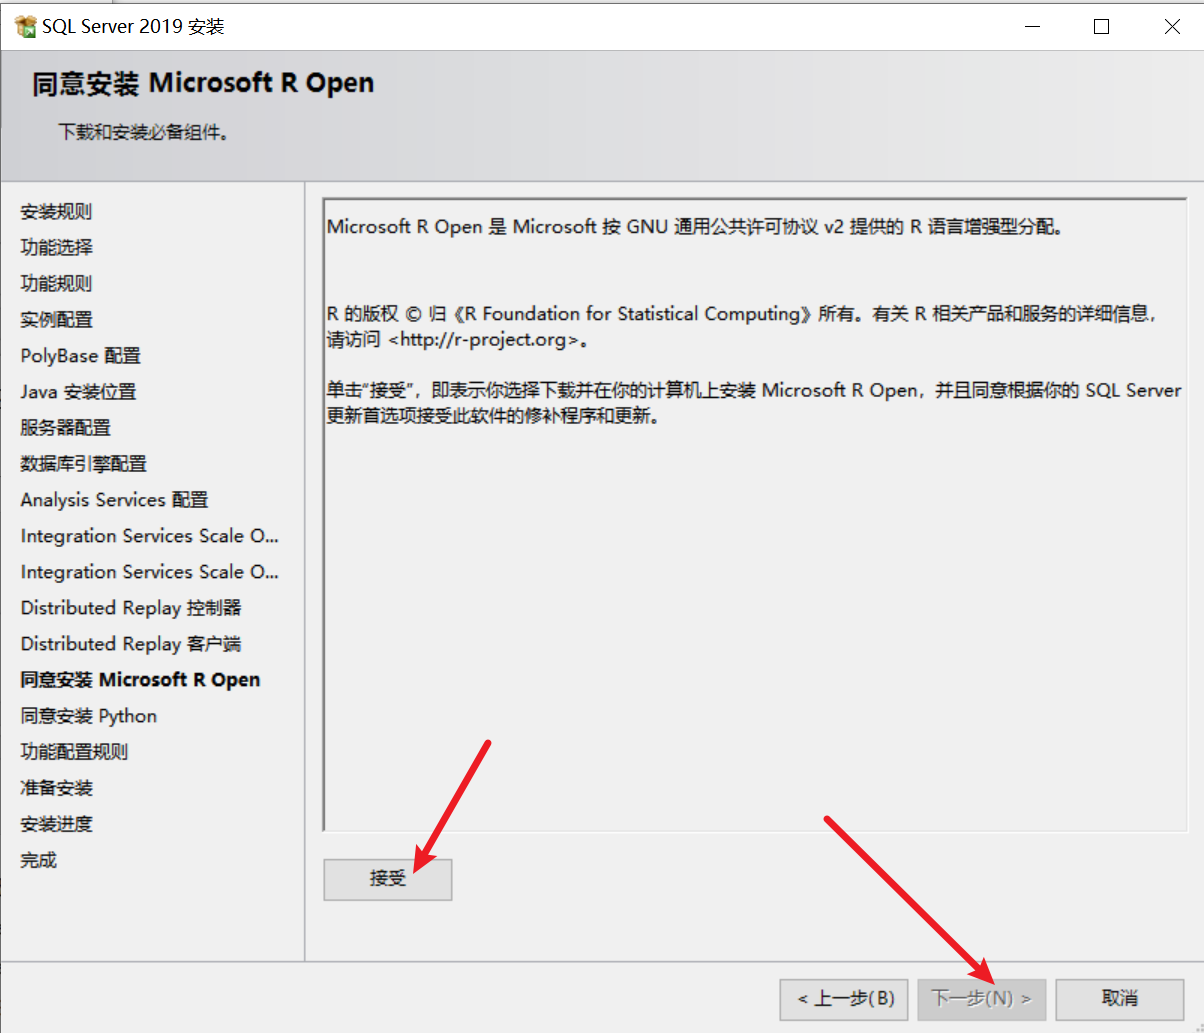


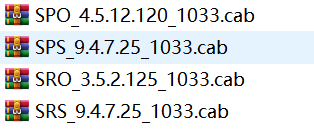
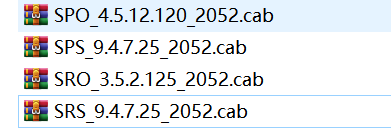
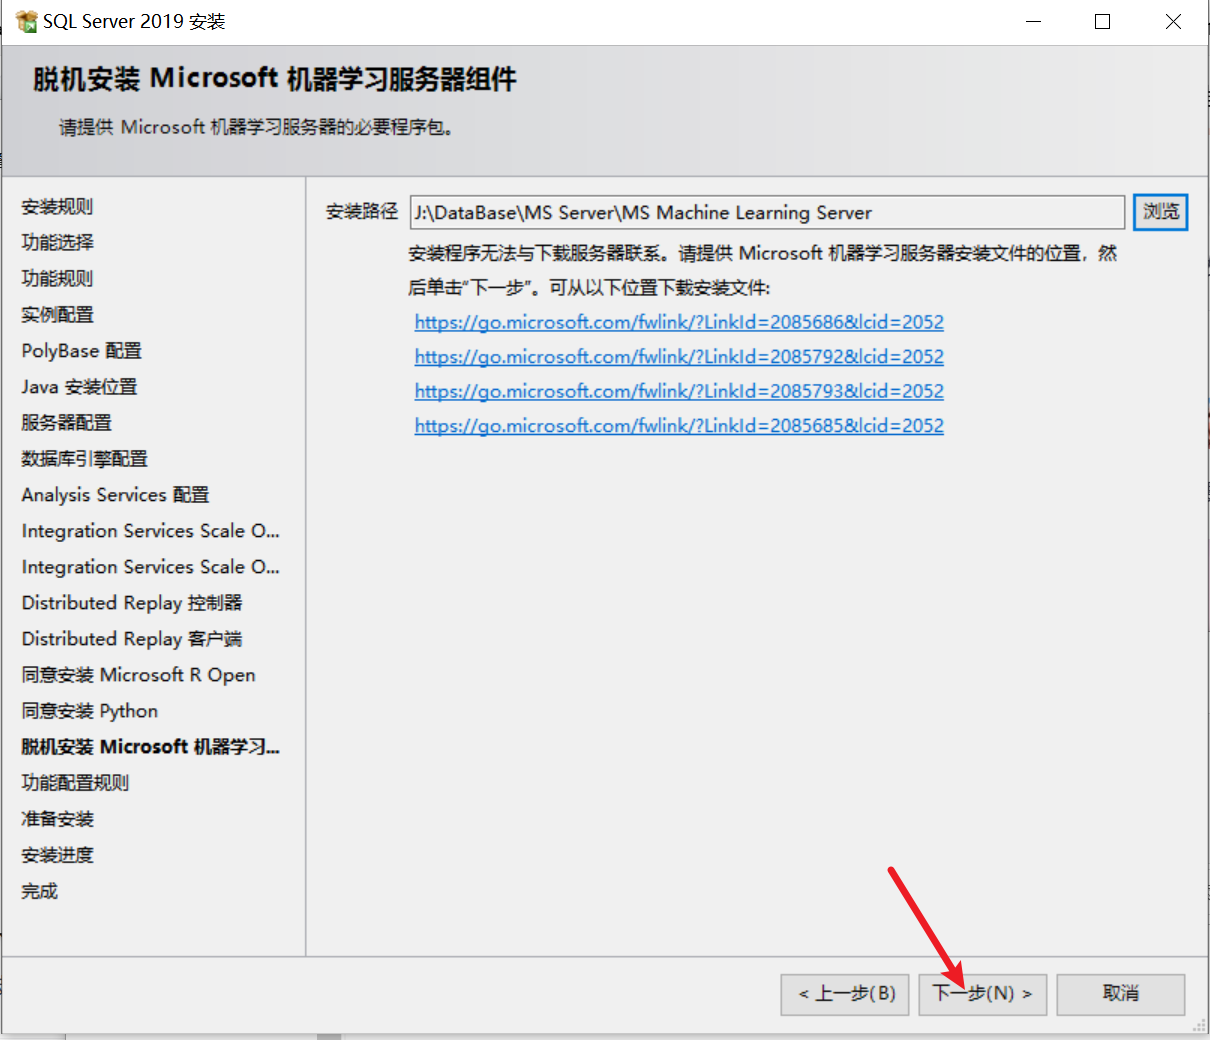
然后把下载的所有cab包放在一个位置,后面的1033改称为2052
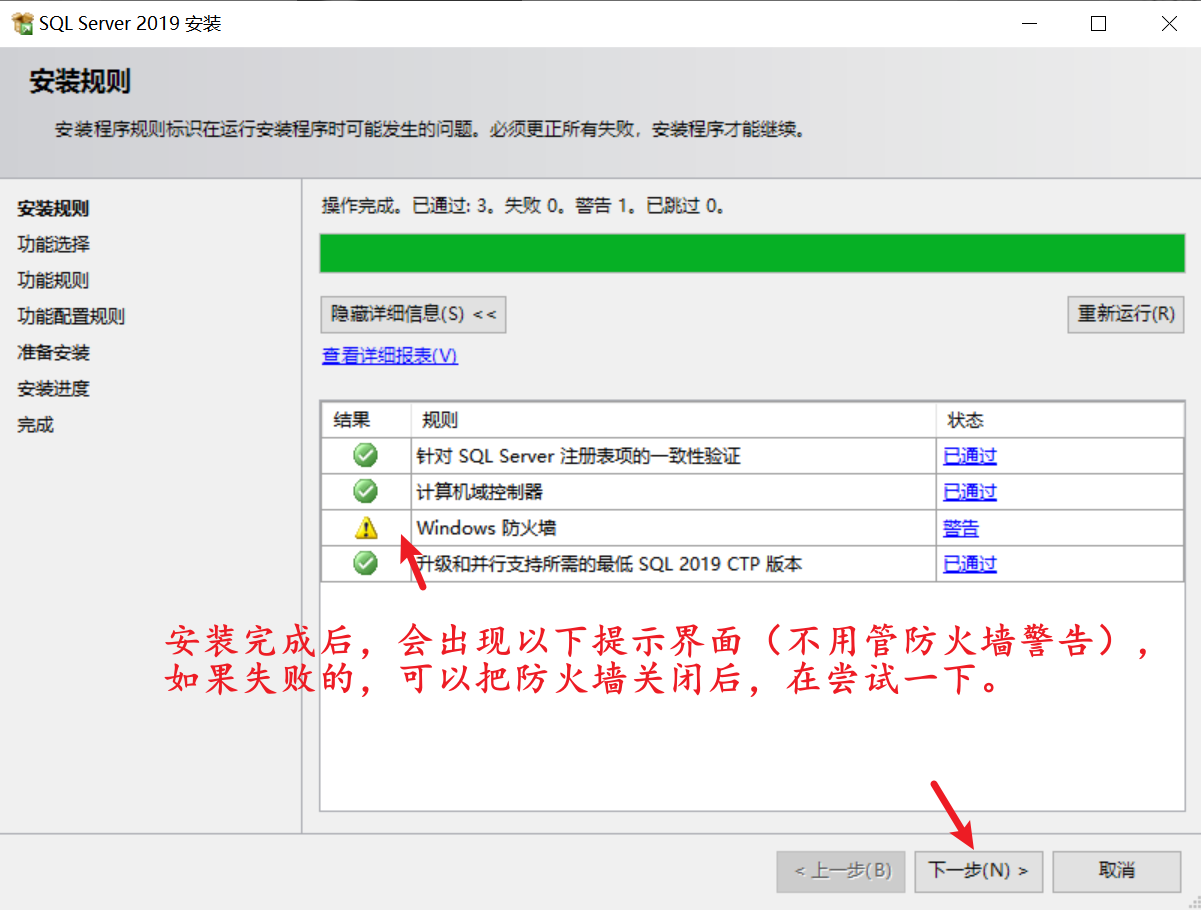
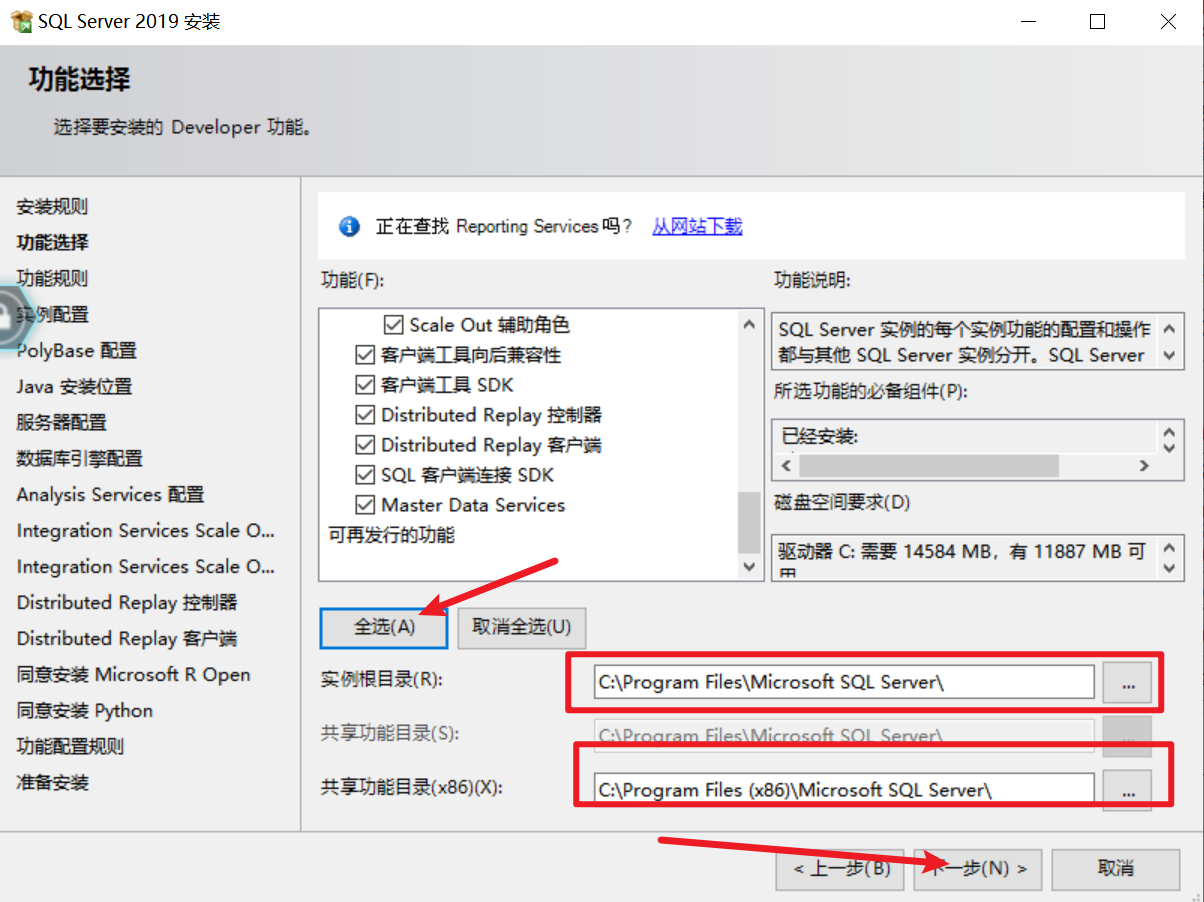
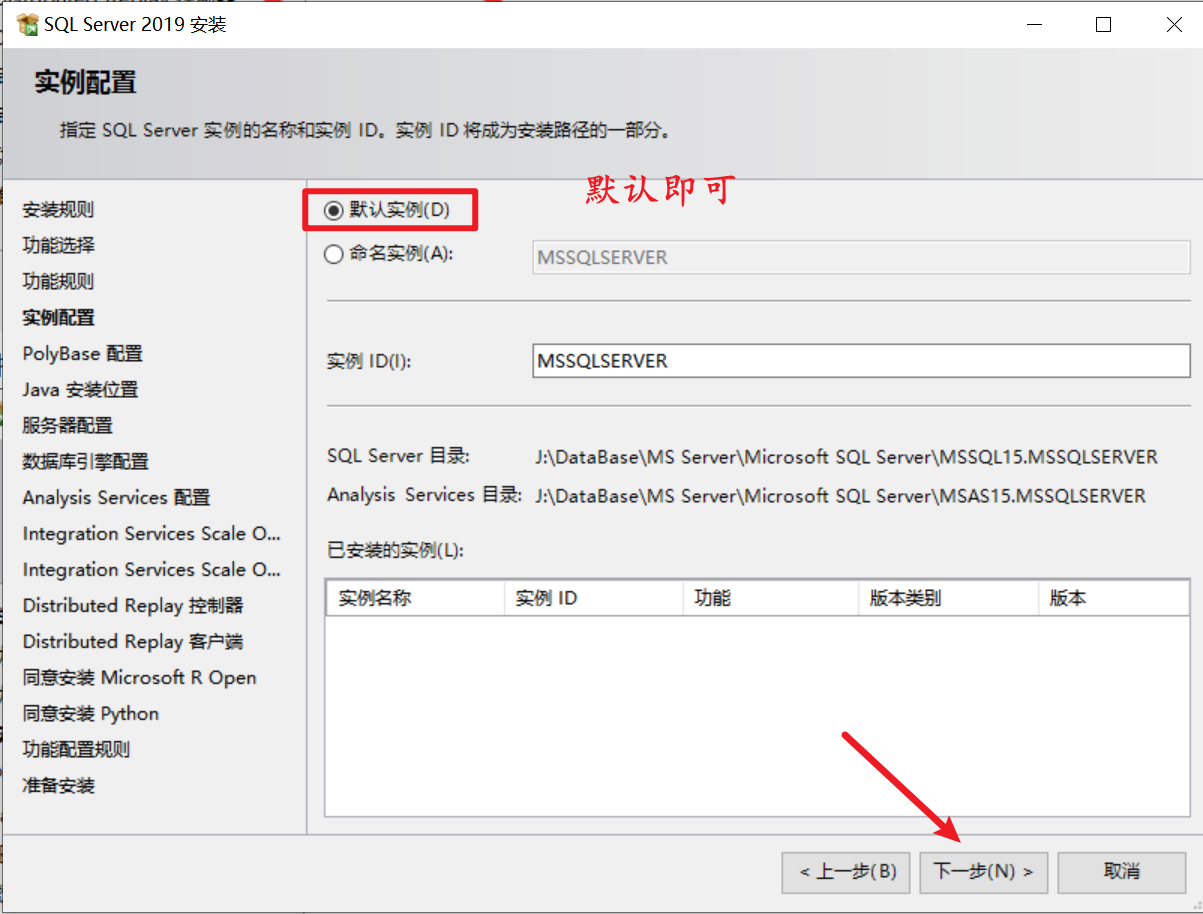
然后导入,就可以点击下一步了:

报错: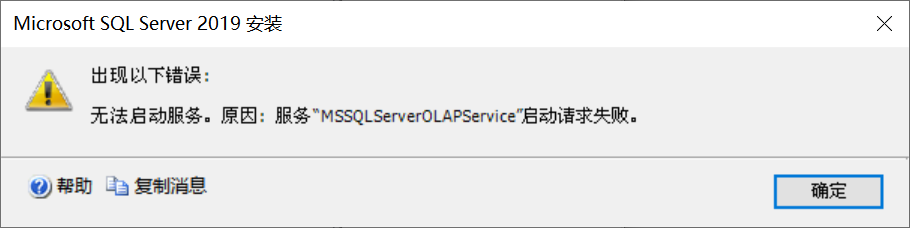
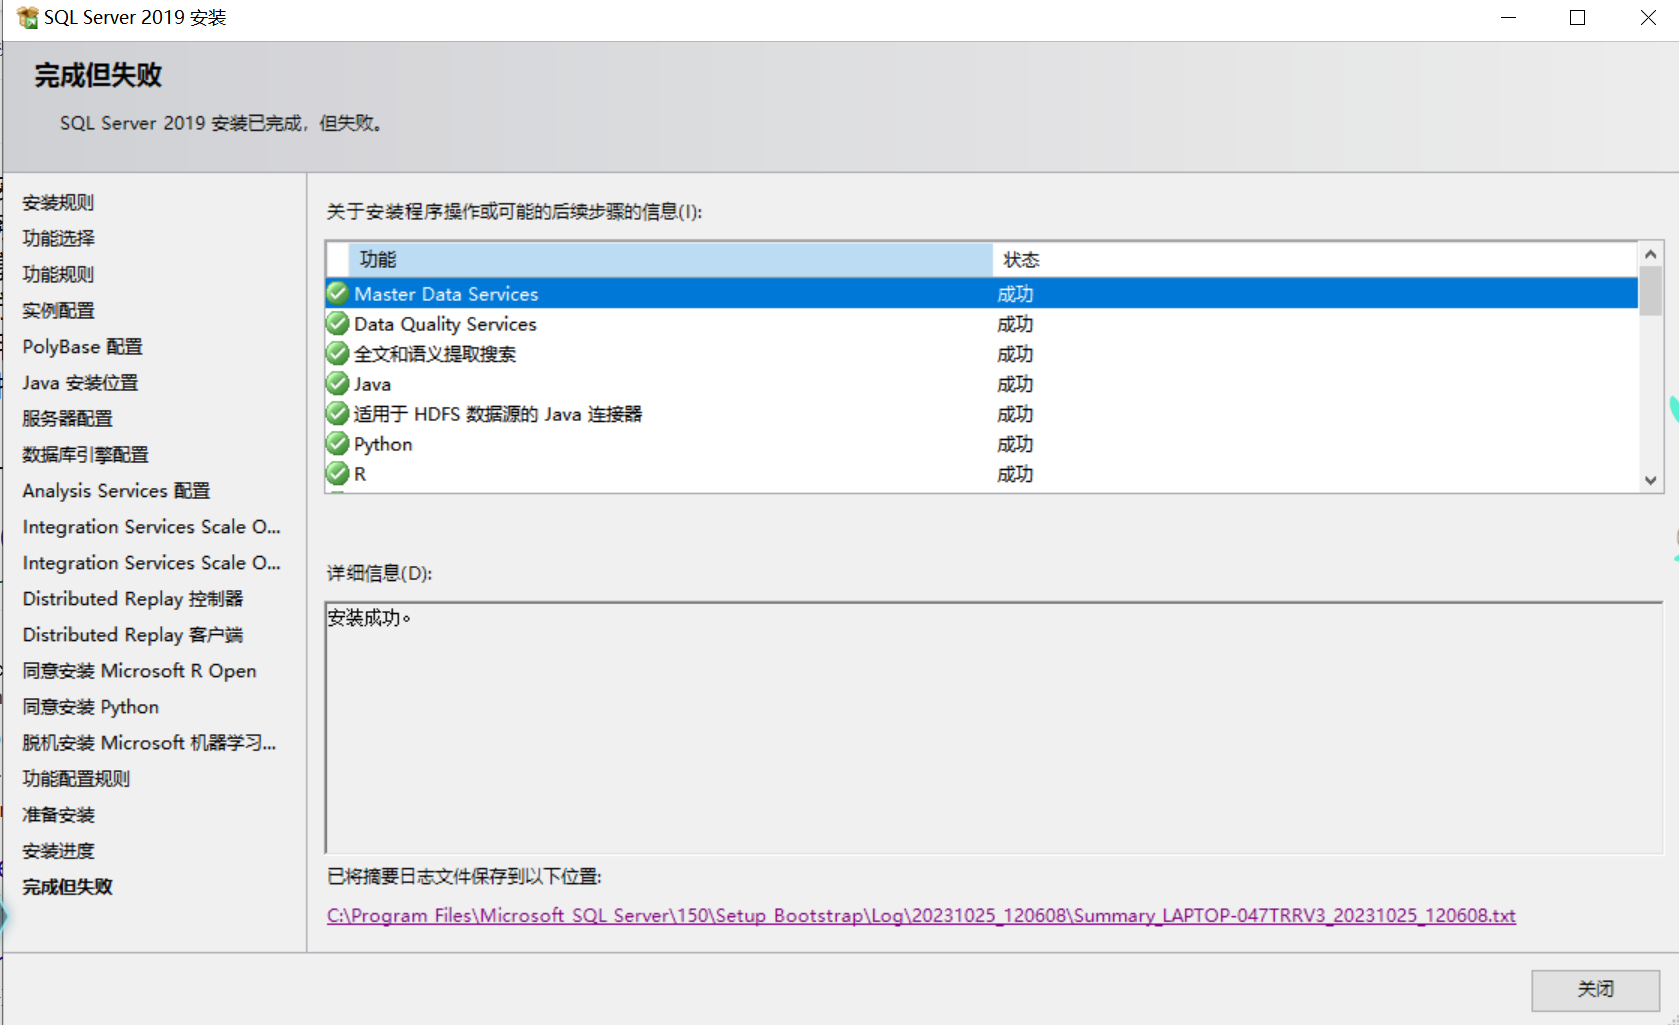
查看Windows日志,发现:
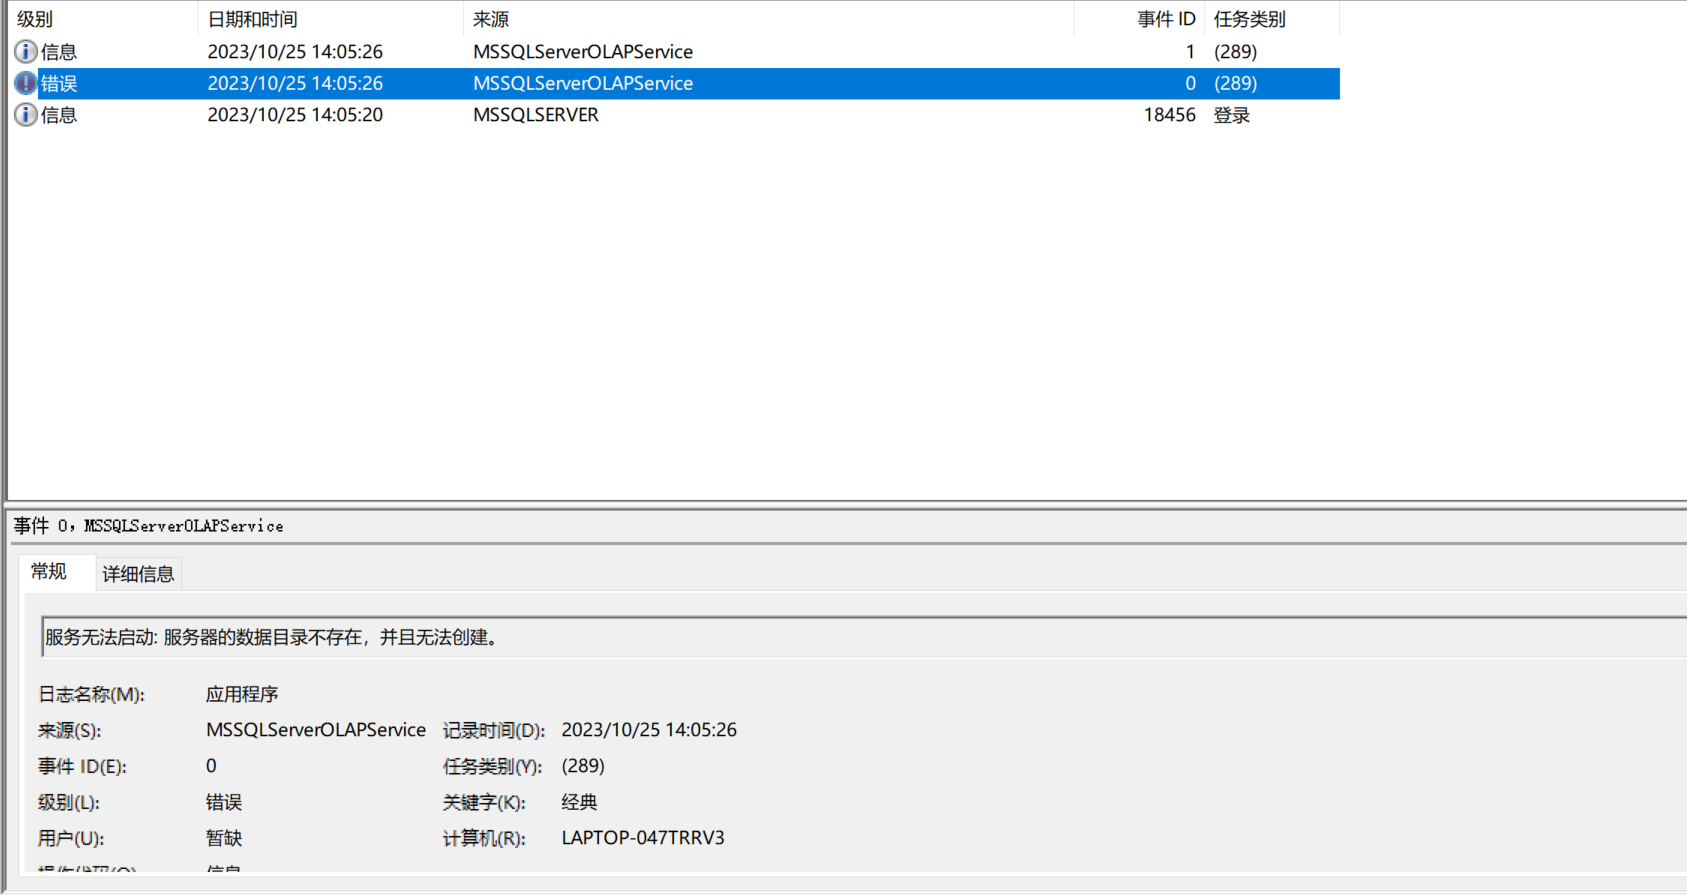
懵逼了,自己补了这个数据目录也不行,改权限也不行,然后百度了半天,查到的结果都是以前MS Server 2008的清除日志+重启服务的方法,但是不管用,最后按照报错信息中的帮助链接去到微软官网查出现的是这个:
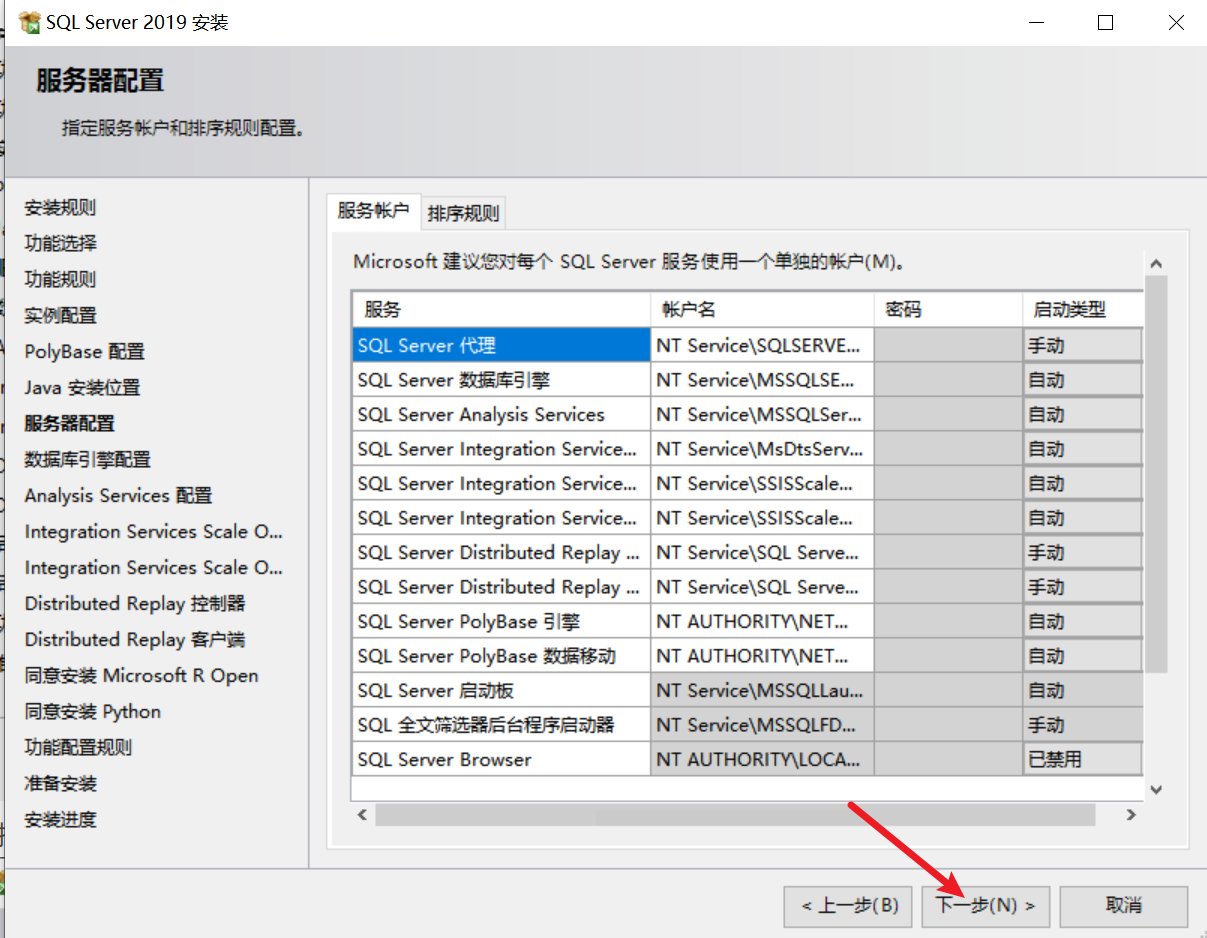
我实在蚌埠住了兄弟们,好在该服务的作用是:
简单学习MS SQL应该用不到!只要下面的服务端开了就行!、
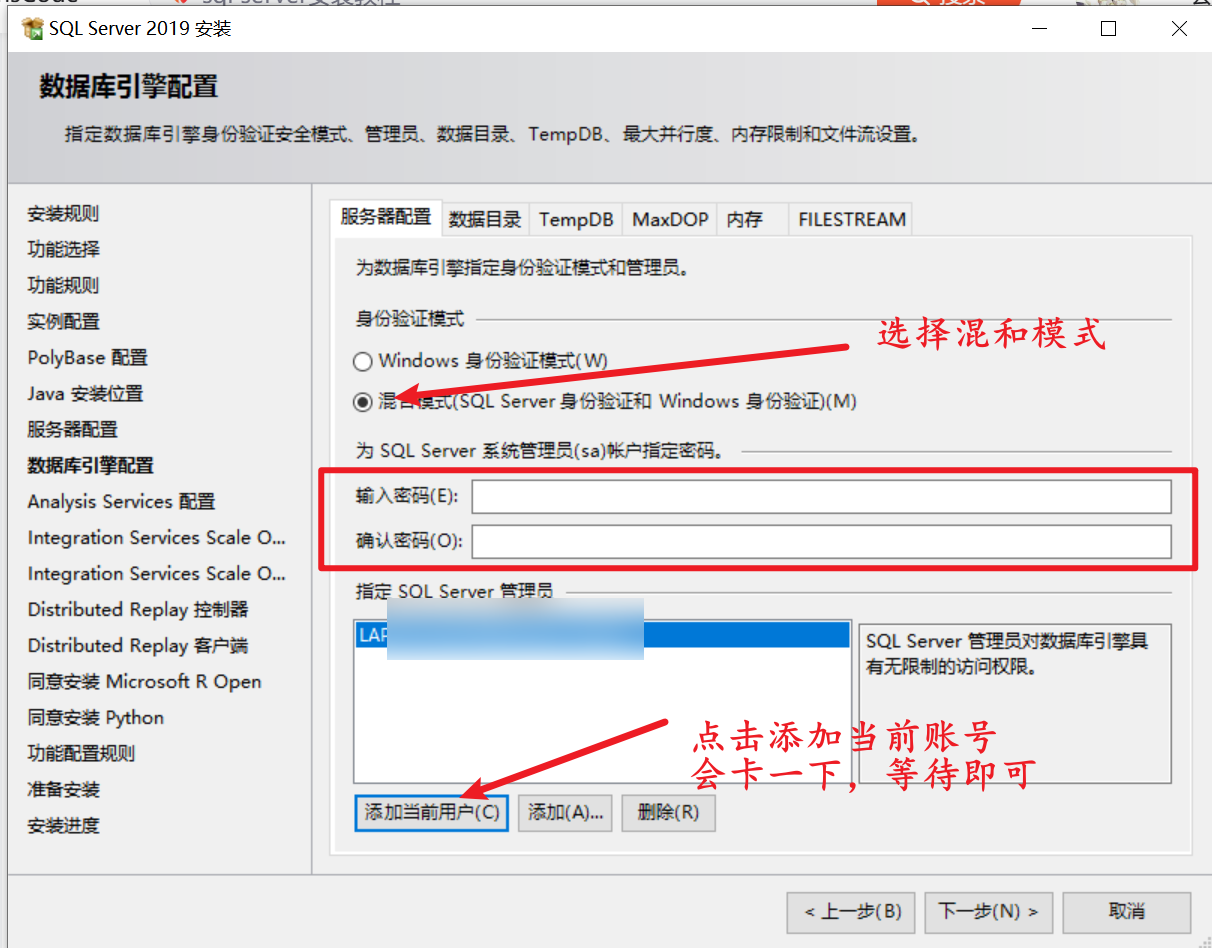
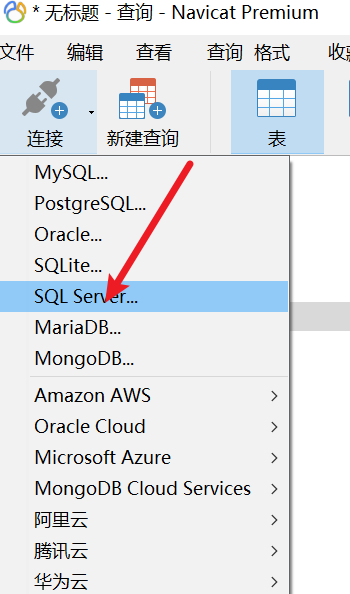
我们同样使用Navicat连接:
安装和连接SQLite
安装和连接MongoDB
Linux环境
Linux环境下的安装就比较复杂了,不像windows那样能一键搞定。
MySQL安装和连接
Linux环境下的安装方式也有很多,一种方法是使用官网给的rpm或者deb包安装,另外一种就是使用yum源或者apt源进行安装
第二种方式比较简单,因此我们这里先介绍第一种方式的安装。
官方RPM包安装
你可以在这个地方下载MySQL的所有Linux安装包:https://dev.mysql.com/downloads/mysql/,下载参考下图: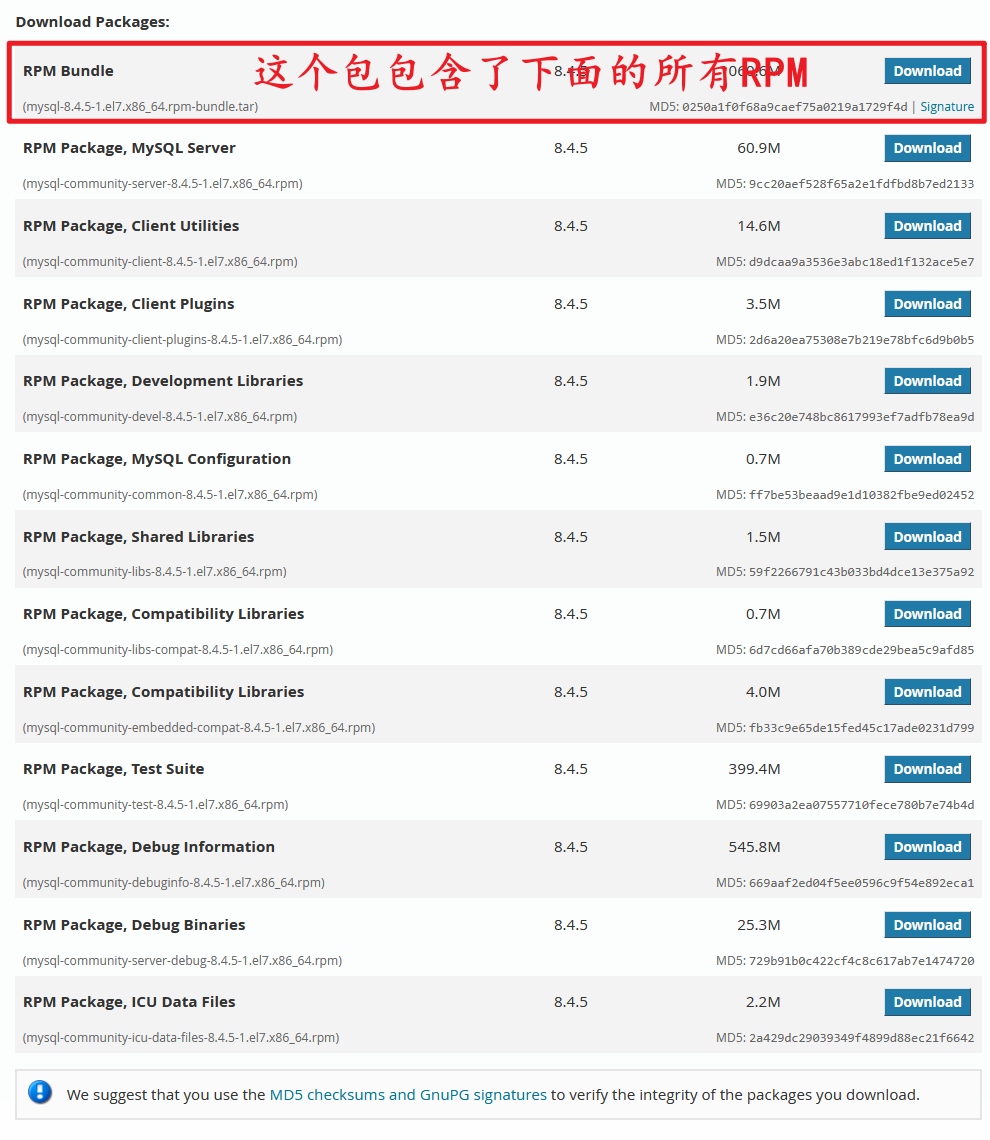
如果下载的是全的包mysql-8.0.42-1.el7.x86_64.rpm-bundle.tar,则需要先解压:
1 | tar -xvf mysql-8.0.42-1.el7.x86_64.rpm-bundle.tar |
而理论上我们只需要下载下面五个包即可,即:
1 | 1.RPM Package, MySQL Server |
在安装的时候我们需要遵循下面的顺序:
1 | 1.RPM Package, MySQL Configuration |
安装步骤如下:
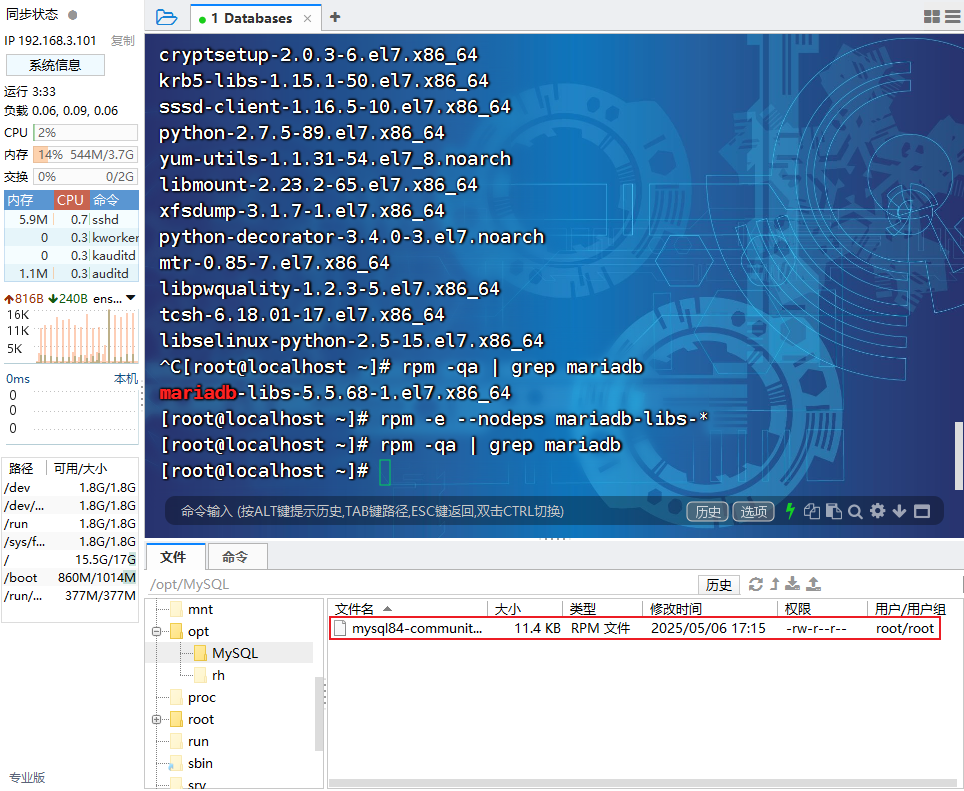
卸载
CentOS 7默认数据库mariadb1
2
3
4
5
6
7查看:
rpm -qa|grep mariadb
mariadb-libs-5.5.68-1.el7.x86_64
卸载:
rpm -e --nodeps mariadb-libs-5.5.68-1.el7.x86_64上传
MySQL上面的那5个RPM包
高版本的MySQL还需要下面这两个包:

安装:依次执行下面的命令进行安装
1
2
3
4
5
6
7
8
9rpm -ivh mysql-community-common-5.7.25-1.el7.x86_64.rpm --force --nodeps
rpm -ivh mysql-community-libs-5.7.25-1.el7.x86_64.rpm --force --nodeps
rpm -ivh mysql-community-libs-compat-5.7.25-1.el7.x86_64.rpm --force --nodeps
rpm -ivh mysql-community-client-5.7.25-1.el7.x86_64.rpm --force --nodeps
rpm -ivh mysql-community-server-5.7.25-1.el7.x86_64.rpm --force --nodeps启动
mysql1
2
3
4mysql启动
systemctl start mysqld
查看mysql启动状态
systemctl status mysqld修改
MySQL密码1
2
3
4
5
6
7
8
9
10
11
12
13
14
15
16
17
18
19
201.查看临时密码:
> grep password /var/log/mysqld.log
2.用临时密码登录mysql
> mysql -uroot –p
3.首先需要设置密码的验证强度等级,设置 validate_password_policy 的全局参数为 LOW 即可(建议使用随机密码而不是简单密码)
set global validate_password_policy=LOW;
4.当前密码长度为8,如果不介意的话就不用修改了,按照通用的来讲,设置为 6 位的密码,设置 validate_password_length 的全局参数为 6 即可(建议使用随机密码而不是简单密码)
set global validate_password_length=6;
5.修改成新的密码(建议使用随机密码而不是简单密码)
set password = password("123456");
如果是高版本MYSQL, 可能强制你使用下面的SQL来修改密码:
ALTER USER 'root'@'localhost' IDENTIFIED BY '123456';
或者下面这个语句
update mysql.user set authentication_string=password('新密码') where user='用户名' and Host ='localhost';
刷新权限
flush privileges;启用远程登录
1
2
3
4
5
6
7
8
9
10
11
12
13
14
15
16
17
18
19
20
21
22
23
24
25
26查看当前用户
SELECT HOST, USER FROM mysql.user;
+-----------+------------------+
| HOST | USER |
+-----------+------------------+
| localhost | mysql.infoschema |
| localhost | mysql.session |
| localhost | mysql.sys |
| localhost | root |
+-----------+------------------+
4 rows in set (0.00 sec)
创建远程登录账户
CREATE USER 'root'@'%' IDENTIFIED BY '123456';
设置远程登录
GRANT ALL PRIVILEGES ON *.* TO 'root'@'%';
*.*指代数据库和数据表,*代表匹配所有数据库,如需要单独,请自行设置,比如mysql.user代表mysql数据库中的user表
'root'@'%'指代给谁链接,格式是'用户'@'IP'
低版本的MySQL可以使用下面的SQL一下子设置完,但高版本的不行
这是因为从 MySQL 5.7 版本开始,GRANT 语句不再隐式创建用户,你需要先创建用户,然后再授予权限。
GRANT ALL PRIVILEGES ON *.* TO 'root'@'%' IDENTIFIED BY '123456' WITH GRANT OPTION;
*.*指代数据库和数据表,*代表匹配所有数据库,如需要单独,请自行设置,比如mysql.user代表mysql数据库中的user表
'root'@'%'指代给谁链接,格式是'用户'@'IP'
IDENTIFIED BY后面的是密码开放
3306端口或者关闭防火墙(不建议)1
2
3
4
5
6
7开放3306端口
> firewall-cmd --zone=public --add-port=3306/tcp --permanent
重启防火墙
> firewall-cmd --reload
关闭防火墙
systemctl stop firewall初始化
MySQL数据库,导入测试数据库(可选),其实从第5步开始就可以借助这个脚本来初始化MySQL数据库1
2
3
4
5
6
7
8
9
10
11
12
13
14
15
16
17
18
19
20
21
22
23
24
25
26
27
28
29
30
31
32
33
34
35
36
37
38
39
40
41
42
43
44
45
46
47
48
49
50
51
52
53
54
55
56
57
58
59
60
61
62
63
64
65
66
67
68运行这个脚本
> mysql_secure_installation
Securing the MySQL server deployment.
输入root的临时密码,可以参考第5步的获取
Enter password for user root:
The 'validate_password' component is installed on the server.
The subsequent steps will run with the existing configuration
of the component.
Using existing password for root.
这里可以更改root的密码,输入yes即可更改
Estimated strength of the password: 100
Change the password for root ? ((Press y|Y for Yes, any other key for No) : no
... skipping.
是否移除所有匿名用户
By default, a MySQL installation has an anonymous user,
allowing anyone to log into MySQL without having to have
a user account created for them. This is intended only for
testing, and to make the installation go a bit smoother.
You should remove them before moving into a production
environment.
Remove anonymous users? (Press y|Y for Yes, any other key for No) : no
... skipping.
是否禁用远程数据库连接
Normally, root should only be allowed to connect from
'localhost'. This ensures that someone cannot guess at
the root password from the network.
Disallow root login remotely? (Press y|Y for Yes, any other key for No) : no
... skipping.
是否删除测试数据库
By default, MySQL comes with a database named 'test' that
anyone can access. This is also intended only for testing,
and should be removed before moving into a production
environment.
Remove test database and access to it? (Press y|Y for Yes, any other key for No) : no
... skipping.
是否立刻刷新权限表让权限生效
Reloading the privilege tables will ensure that all changes
made so far will take effect immediately.
Reload privilege tables now? (Press y|Y for Yes, any other key for No) : no
... skipping.
All done!
导入sakila测试数据库
下载sakila测试数据库:https://dev.mysql.com/doc/index-other.html
1. 连接数据库
mysql -uroot -p
2. 解压sql脚本
3. 导入脚本
SOURCE C:/temp/sakila-db/sakila-schema.sql;
SOURCE C:/temp/sakila-db/sakila-data.sql;使用
navicat或者datagrip进行测试
官方DEB包安装
包管理器安装(yum和apt)
这里以yum源为例子, 我们先下载官网上yum源的的rpm包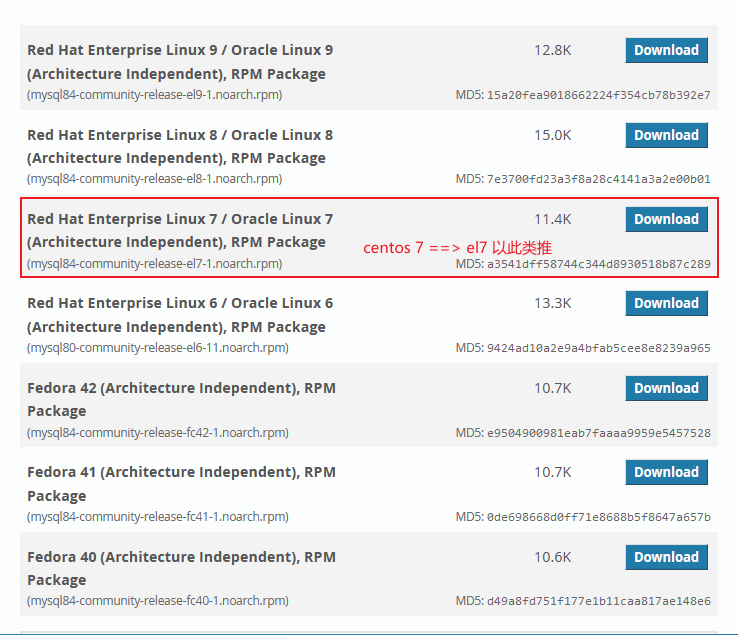
上传到Linux服务器
运行rpm包:
1 | [root@localhost MySQL]# rpm -i mysql84-community-release-el7-1.noarch.rpm |
成功之后,此时在/etc/yum.repos.d下会多出三个repo仓库文件
然后我们刷新yum缓存
1 | [root@localhost MySQL]# yum clean all |
在mysql存储库中搜索MySQL
1 | sudo yum --disablerepo="*" --enablerepo="mysql*" search mysql |
之后的步骤参考上面的离线安装即可!直接执行指令
1 | yum install mysql-community-server |
即可安装完成!
MySQL编译源码安装
默认情况下MySQL的安装不能指定位置,哪怕无论是Yum还是Apt,无论是deb还是rpm,想要将MySQL安装在特定的位置只能自己编译源代码进行安装。
卸载旧版本
&清理环境1
2
3
4sudo systemctl stop mysqld 2>/dev/null
sudo yum erase -y mariadb* mysql* # Ubuntu 用 apt purge
sudo rm -rf /etc/my.cnf /etc/mysql /var/lib/mysql
sudo userdel -r mysql 2>/dev/null安装编译依赖
1
2
3
4
5sudo yum groupinstall -y "Development Tools"
sudo yum install -y cmake ncurses-devel openssl-devel bison flex libtirpc-devel
# Ubuntu 用
# sudo apt update
# sudo apt install build-essential cmake libncurses5-dev libssl-dev bison flex libtirpc-dev新建运行用户(禁止登录)
1
2sudo groupadd -r mysql
sudo useradd -r -g mysql -s /sbin/nologin -M mysql下载链接:MySQL :: Download MySQL Community Server下载的包参考下图
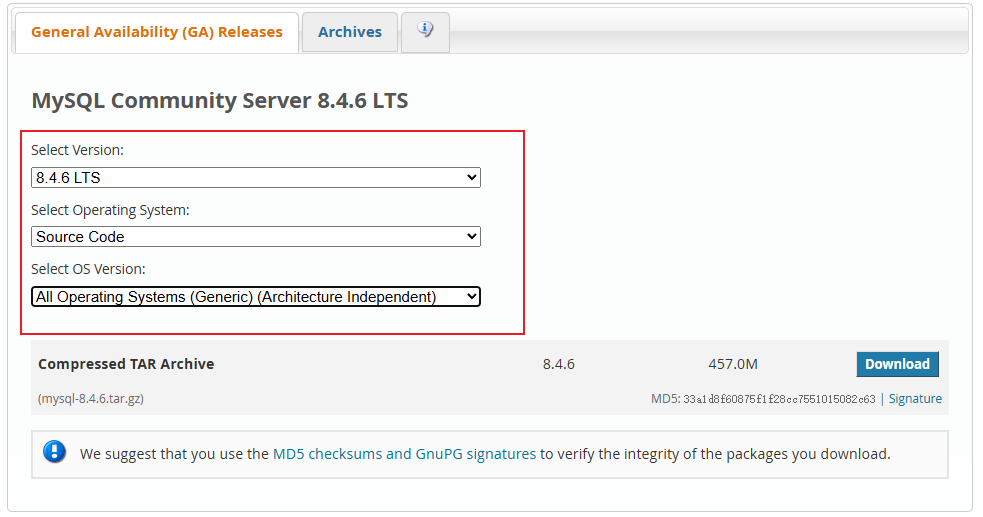 下载的是源代码:
1
2
3
4# 或者直接使用下面的下载MySQL
wget https://dev.mysql.com/get/Downloads/MySQL-8.0/mysql-boost-8.0.39.tar.gz
tar zxvf mysql-boost-8.0.39.tar.gz
cd mysql-8.0.39 # 此处放在你想放的地方预编译(
cmake),官方推荐外部构建目录保持源码干净:1
2
3
4
5
6
7
8
9
10
11
12
13mkdir build && cd build
cmake .. \
-DCMAKE_INSTALL_PREFIX=/service/noname/envs/mysql \
-DMYSQL_DATADIR=/service/noname/envs/mysql/data \
-DSYSCONFDIR=/service/noname/envs/mysql/etc \
-DMYSQL_UNIX_ADDR=/service/noname/envs/mysql/run/mysql.sock \
-DWITH_BOOST=../boost \
-DWITH_SSL=system \
-DDEFAULT_CHARSET=utf8mb4 \
-DDEFAULT_COLLATION=utf8mb4_0900_ai_ci \
-DWITH_INNOBASE_STORAGE_ENGINE=1 \
-DENABLED_LOCAL_INFILE=1 \
-DWITH_SYSTEMD=1常见错误:
Could not find rpcgen→ 再装libtirpc-devel并加-DWITH_RPCGEN=system。- 内存 < 2 GB → 事先加 swap。
编译 & 安装
1 | make -j$(nproc) # 视 CPU 核数决定并行度 |
目录权限 & 初始化
1
2
3
4
5
6sudo chown -R mysql:mysql /service/noname/envs/mysql
cd /service/noname/envs/mysql
sudo ./bin/mysqld --initialize --user=mysql \
--basedir=/service/noname/envs/mysql \
--datadir=/service/noname/envs/mysql/data
# 记住最后一行的 root 临时密码!编辑配置文件
1
2
sudo mkdir -p /service/noname/envs/mysql/etc
sudo vim /service/noname/envs/mysql/etc/my.cnf1
2
3
4
5
6
7
8
9
10
11[client]
socket=/service/noname/envs/mysql/run/mysql.sock
[mysqld]
user=mysql
port=3306
basedir=/service/noname/envs/mysql
datadir=/service/noname/envs/mysql/data
socket=/service/noname/envs/mysql/run/mysql.sock
pid-file=/service/noname/envs/mysql/run/mysqld.pid
character-set-server=utf8mb4systemd服务文件(MySQL自带模板需简单改路径)1
2
3
4sudo cp /service/noname/envs/mysql/support-files/mysql.server /etc/systemd/system/mysqld
sudo sed -i 's|/usr/local/mysql|/service/noname/envs/mysql|g' /etc/systemd/system/mysqld
sudo systemctl daemon-reload
sudo systemctl enable --now mysqld如果是8.0之前的版本(包括8.0),此方法可行,但是在
MySQL 8.0之后,不再把旧的 SysV 脚本mysql.server放到support-files目录,而是直接生成 systemd unit 文件模板。因此你可以在/service/noname/envs/mysql/source/mysql-8.4.6/scripts/systemd中找到这些模板1
2mysql@.service.in
mysqld.service.in需要自行替换:
1
2
3@prefix@ → /service/noname/envs/mysql
@sysconfdir@ → /service/noname/envs/mysql/etc
@localstatedir@ → /service/noname/envs/mysql/data8.4版本的MySQL甚至不需要你替换,在
build目录下/service/noname/envs/mysql/source/mysql-8.4.6/build/scripts,里面会有已经build好的各种service文件,包括mysqld.service,我们把它复制到/etc/systemd/system/mysqld即可。笔者个人对这个
mysqld.service进行了一些修改:1
2
3
4
5
6
7
8[Service]
# ...
# ExeStart中添加了--defaults-file只想运行所使用的my.cnf
ExecStart=/service/noname/envs/mysql/bin/mysqld \
--defaults-file=/service/noname/envs/mysql/etc/my.cnf
# 运行时的PID
PIDFile=/service/noname/envs/mysql/run/mysqld.pid
# 其他内容保持不动然后让
systemd重新加载并启动1
2sudo systemctl daemon-reload
sudo systemctl enable --now mysqld如果出现
ERROR 2002 (HY000): Can't connect to local MySQL server through socket '/service/noname/envs/mysql/run/mysql.sock',重启MySQL一般就能解决之后就是参考[修改
MySQL密码]的步骤了